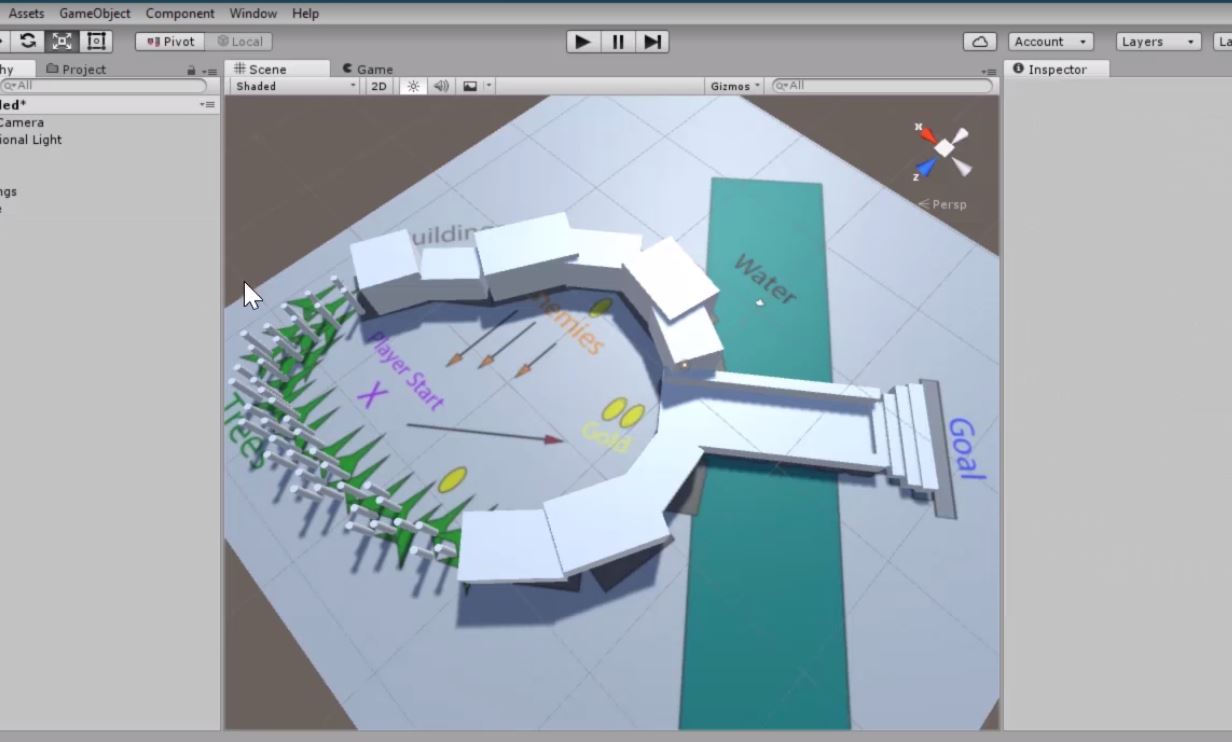
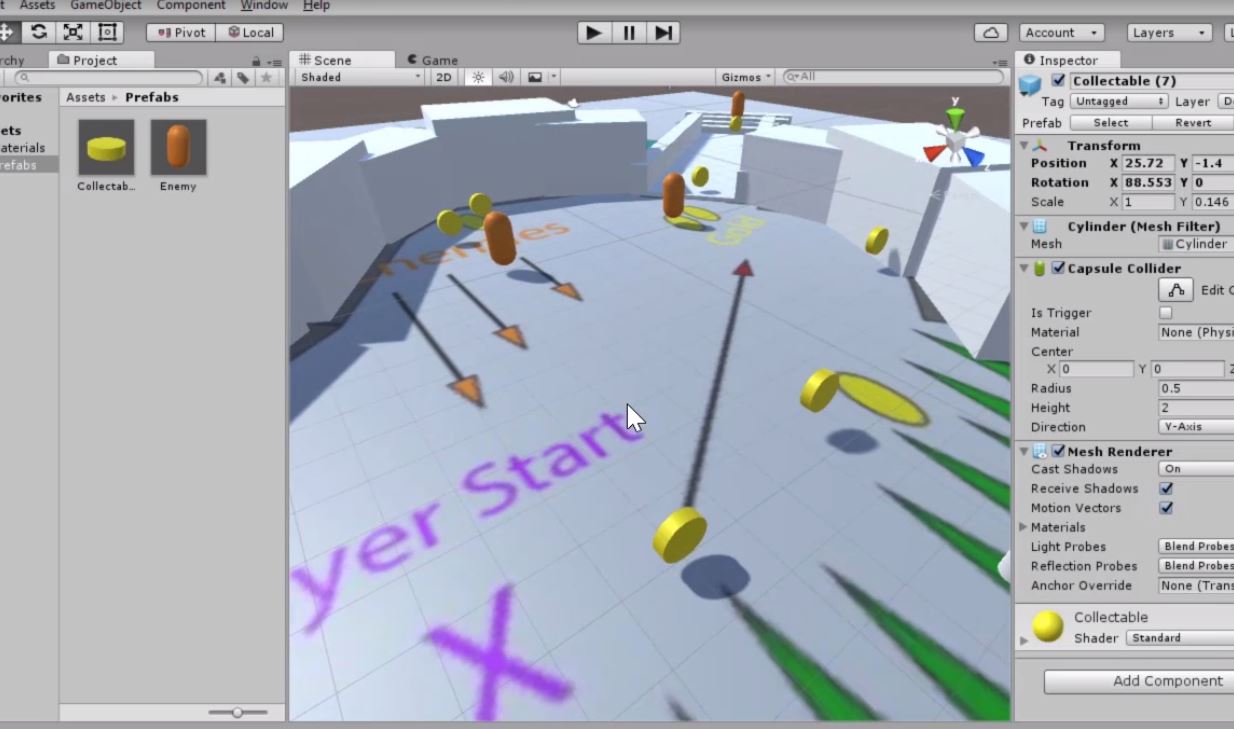
This is Part 2 of my short blog series "Game Prototyping in Unity" about my recently released tutorial. If you have not already read Part 1 I recommend starting there!
In the second module of my tutorial I cover integrating art and sound in Unity and adding lighting and particles.
The first step is bringing in your model and texture files.
Then you will create a new material in Unity. Unity materials have a lot of properties you can work with, but the easiest ones to start with are the diffuse color (which is just the color of the material), normal color (which determines the detail or roughness of the surface), and specular or metallic color (giving it a shiny quality).
When you are done setting up your models with materials and textures, you can turn each art asset into a refab and replace your whitebox with art.
Make sure there are no areas where the player can walk out of the level. You don't need to follow your original layout, just use it as a general guide.
Once your layout is replaced with art it's time to add some lighting. For this type of level I want to use torches to give it a medieval feel. So I used a fire effect from Unity's default particle package and made some modifications so it would fit with this art style.
The flame particle system comes with a point light, but I also like to add a couple more point lights around each torch so you can see the details of the torch.
Once you have your bright areas, be sure to give some thought to lighting your dark areas. It's tempting to just keep dark areas unlit and leave them mostly black, but that generally doesn't look good in games because the player really can't see anything at all.
If you want to keep the feeling of darkness but still give the player enough visibility to play, use some dark blue lighting to fill the darkest areas.
When you are done, you'll have a well-lit level that conveys mood as well as giving visibility.
The final step in asset integration is adding sound effects. Rather than attaching ambient sounds to the main camera, try adding ambient audio sources as 3D sound around the scene, so as the player walks the sound changes. This helps bring the level to life.
If you enjoyed this blog post, please check out the video tutorial on Pluralsight which will take you step-by-step through this whole process! The next section will cover creating a character controller.
Thanks for reading!
A place where I write my experiences, musings, and technical challenges/solutions along my journey as a game developer.
Showing posts with label lighting. Show all posts
Tuesday, May 9, 2017
Saturday, May 6, 2017
Game Prototyping in Unity, Part 1: Creating an Evironment
This 5-part blog series is going to cover content that I recently made into a tutorial on Pluralsight called Game Prototyping in Unity. The blog post will summarize what you would learn in the tutorial, to help you decide if it's right for you before subscribing to the Pluralsight course listing.
In Part 1 we will cover the process of Creating an Environment. The first step is to create a 2D layout which will be your plan for the level design, and you can do this with any 2D tool you are comfortable with - Photoshop, MS Paint, even paper and pencil!
It's important to create a 2D layout before beginning building in 3D because it allows you to explore multiple options, take a couple of attempts and make changes quickly, get feedback early, and also to have a plan so you can stay on track when you begin building.
Benefits of creating a 2D layout:
In Part 1 we will cover the process of Creating an Environment. The first step is to create a 2D layout which will be your plan for the level design, and you can do this with any 2D tool you are comfortable with - Photoshop, MS Paint, even paper and pencil!
It's important to create a 2D layout before beginning building in 3D because it allows you to explore multiple options, take a couple of attempts and make changes quickly, get feedback early, and also to have a plan so you can stay on track when you begin building.
Benefits of creating a 2D layout:
- Explore multiple options
- Make changes quickly
- Get feedback early
- Have a plan
When I'm getting started on a 2D layout, I like to start with the player's start location:
Then fill in some details around it:
Be sure to label everything as you add new elements:
And think about where to add interactions:
Be sure to add a clear and distinct goal:
Once you have a top-down layout, it's time to move into Unity. You can import your top-down layout into Unity and apply it to a plane and use it as a reference to build on top of.
Be sure to scale it so it is an appropriate size compared to a character controller. Most character controllers are 1 meter wide, so you can use a unit cube to measure while you scale your layout.
The next step is Whiteboxing - the process of building a layout using 3D primitives such as cubes, spheres, cylinders, etc.
For any part of the layout that would be interactive, we want to create Prefabs which allow us to easily apply changes to a large number of objects at once and ensures that they have the same visuals and behaviors.
Once you have your interactive Prefabs, you'll want to start placing them around the scene. Before you start placing though, it's important to give some thought to the Level Flow. You don't need to place your interactive objects exactly where you have them in the layout, this is the perfect time to try some different options and get a good feel for the progression. Level Flow is how the difficulty increases over time, and it can be tempting to use a linear increase:
However, a better approach is to add a challenge, followed by a moment of rest, and oscillate between increasing and decreasing difficulty:
It's important not to increase too quickly or you will cause anxiety, but you also don't want to increase too slowly or you will cause boredom.
Once you have given some thought to your level flow, you can place your interactive prefabs in the scene.
Be sure to test regularly as you are adding interaction points, to be sure that your level flow feels good. I recommend testing with Unity's default first-person controller during this phase.
Now you have a whiteboxed scene in Unity. Part 2 will cover importing art and sound assets and integrating them into the whitebox.
If you would like to follow along with the full video tutorial, please check it out on Pluralsight!
Subscribe to:
Posts (Atom)