In Part 1 we will cover the process of Creating an Environment. The first step is to create a 2D layout which will be your plan for the level design, and you can do this with any 2D tool you are comfortable with - Photoshop, MS Paint, even paper and pencil!
It's important to create a 2D layout before beginning building in 3D because it allows you to explore multiple options, take a couple of attempts and make changes quickly, get feedback early, and also to have a plan so you can stay on track when you begin building.
Benefits of creating a 2D layout:
- Explore multiple options
- Make changes quickly
- Get feedback early
- Have a plan
When I'm getting started on a 2D layout, I like to start with the player's start location:

Then fill in some details around it:

Be sure to label everything as you add new elements:

And think about where to add interactions:

Be sure to add a clear and distinct goal:

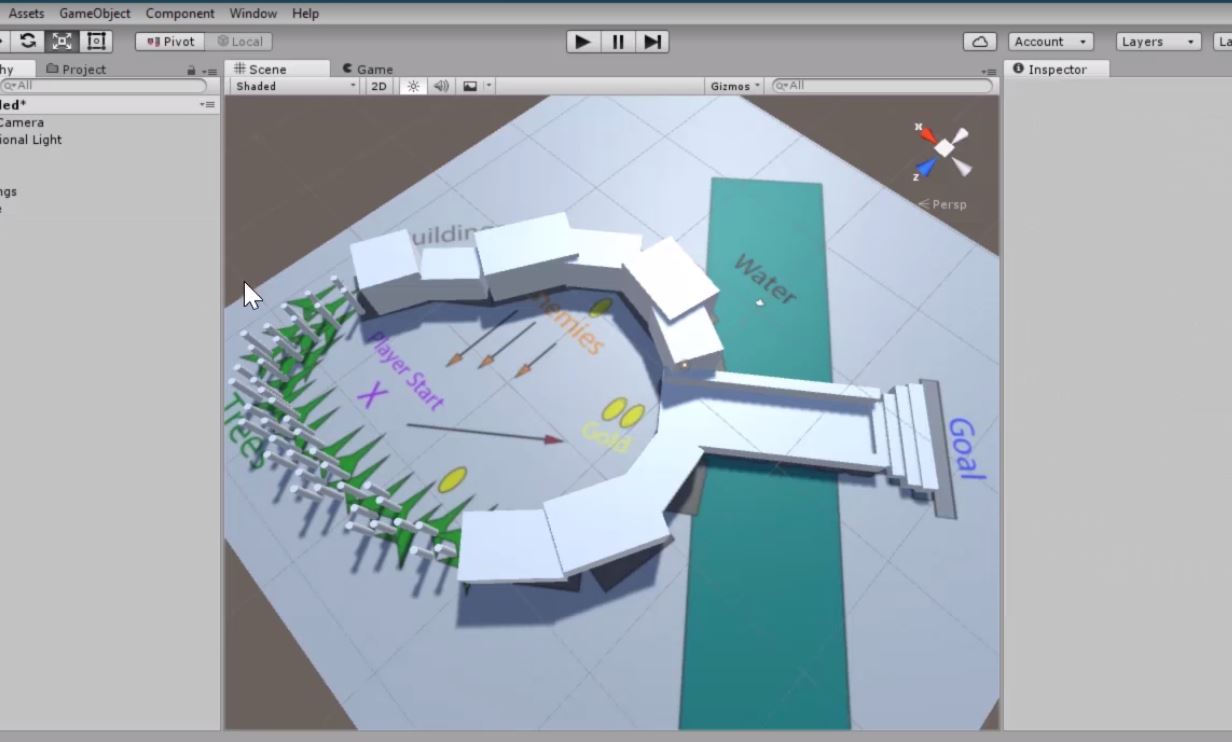
Once you have a top-down layout, it's time to move into Unity. You can import your top-down layout into Unity and apply it to a plane and use it as a reference to build on top of.

Be sure to scale it so it is an appropriate size compared to a character controller. Most character controllers are 1 meter wide, so you can use a unit cube to measure while you scale your layout.
The next step is Whiteboxing - the process of building a layout using 3D primitives such as cubes, spheres, cylinders, etc.
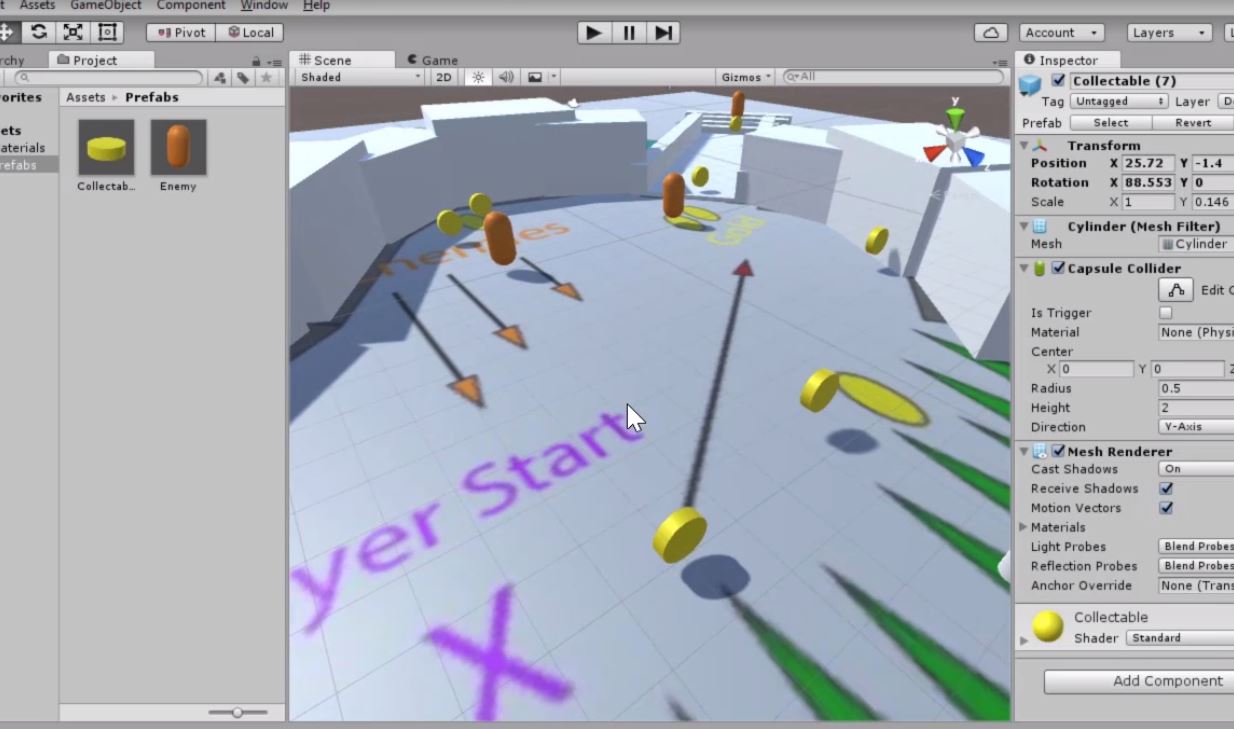
For any part of the layout that would be interactive, we want to create Prefabs which allow us to easily apply changes to a large number of objects at once and ensures that they have the same visuals and behaviors.

Once you have your interactive Prefabs, you'll want to start placing them around the scene. Before you start placing though, it's important to give some thought to the Level Flow. You don't need to place your interactive objects exactly where you have them in the layout, this is the perfect time to try some different options and get a good feel for the progression. Level Flow is how the difficulty increases over time, and it can be tempting to use a linear increase:

However, a better approach is to add a challenge, followed by a moment of rest, and oscillate between increasing and decreasing difficulty:

It's important not to increase too quickly or you will cause anxiety, but you also don't want to increase too slowly or you will cause boredom.
Once you have given some thought to your level flow, you can place your interactive prefabs in the scene.
Be sure to test regularly as you are adding interaction points, to be sure that your level flow feels good. I recommend testing with Unity's default first-person controller during this phase.
Now you have a whiteboxed scene in Unity. Part 2 will cover importing art and sound assets and integrating them into the whitebox.
If you would like to follow along with the full video tutorial, please check it out on Pluralsight!
No comments:
Post a Comment