NPC Quest Giver
This tutorial will build off the core functionality from the Patrolling Enemy tutorial.
Modify the Spotted Functionality
- When the NPC spots the player, she should stand still instead of following the player
- Instead of an attack animation, we will import a friendly “talking” animation from Mixamo
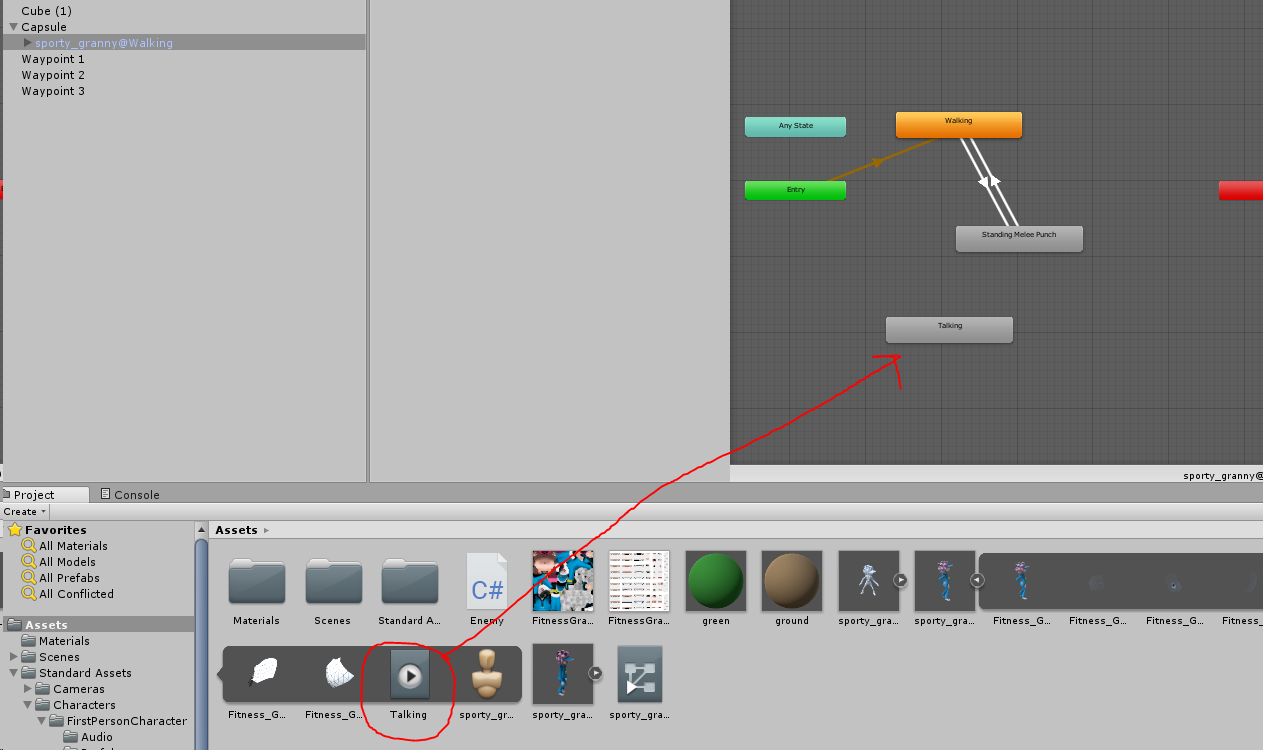
- Import the new animation, and add it to the Animator Controller for the character
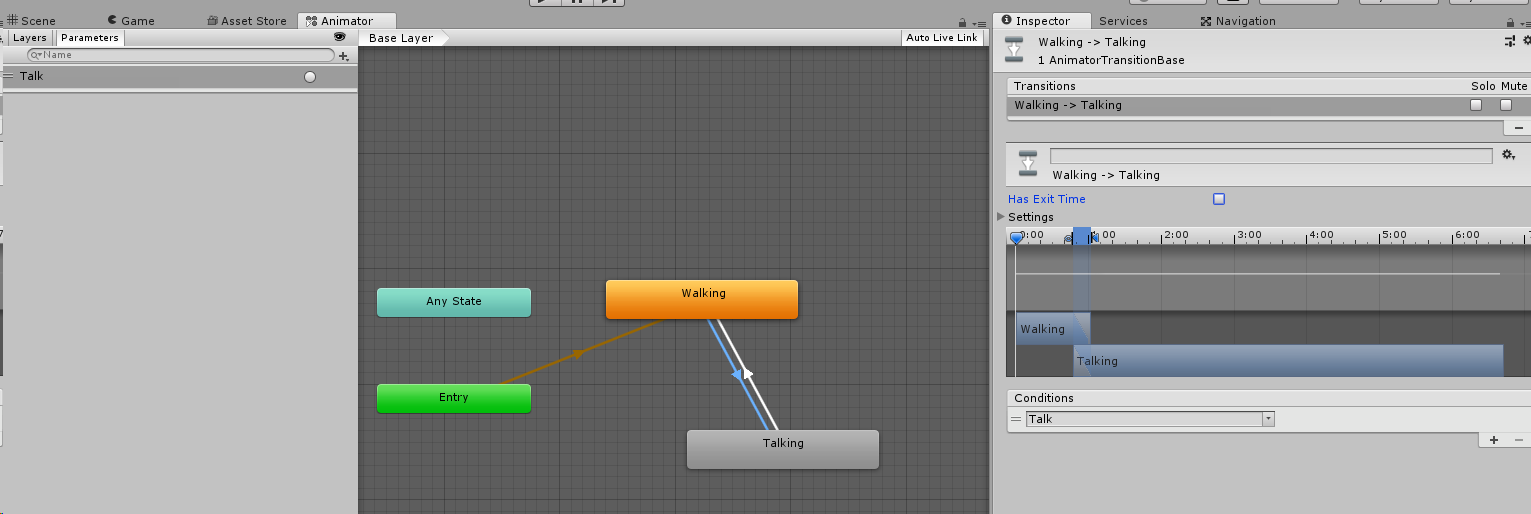
- Remove the Attack animation and Trigger, setup the Talking animation as before, with a Trigger called “Talk” to transition to the Talking animation
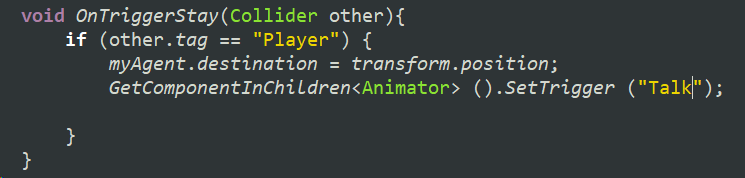
- Change the Animation trigger in the script
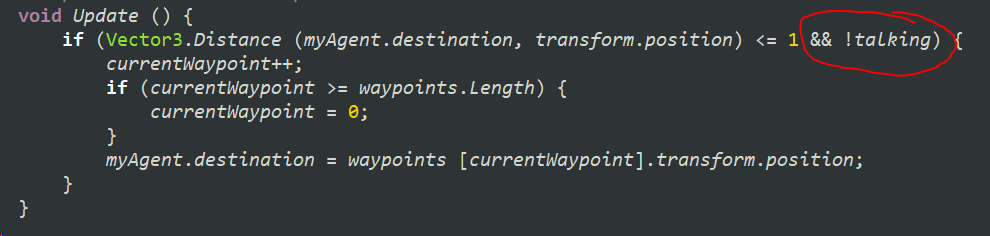
- We also want to stop the character from returning to her patrol, so we will add a bool at the top called “talking”
- And check for that bool in our distance check in Update
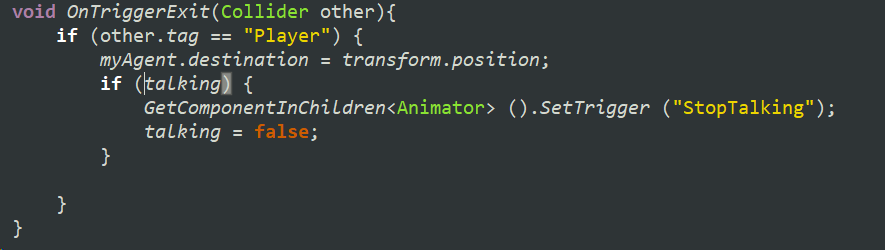
- We’ll also add OnTriggerExit to set the character back to her patrol
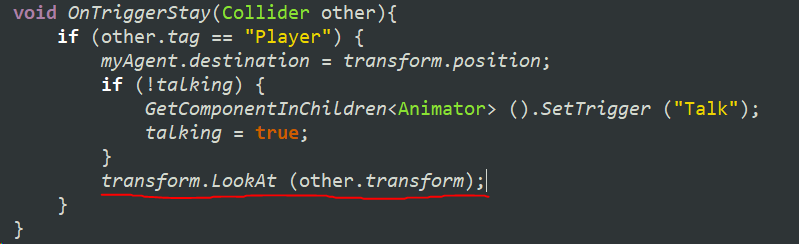
- It would also help if she looks at us while she’s talking
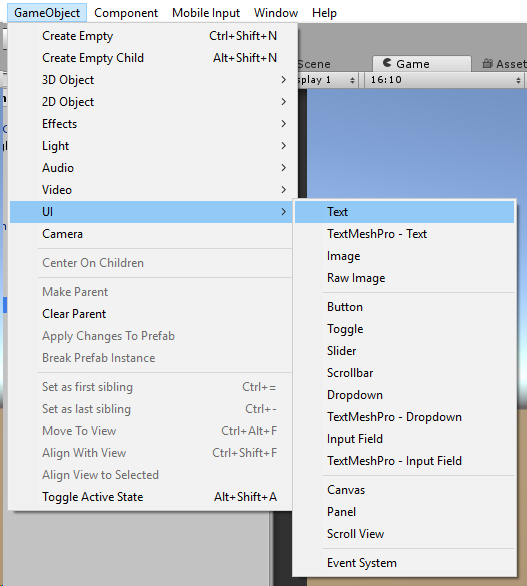
- Lastly, add popup text for the NPC’s dialogue using GameObject > UI > Text
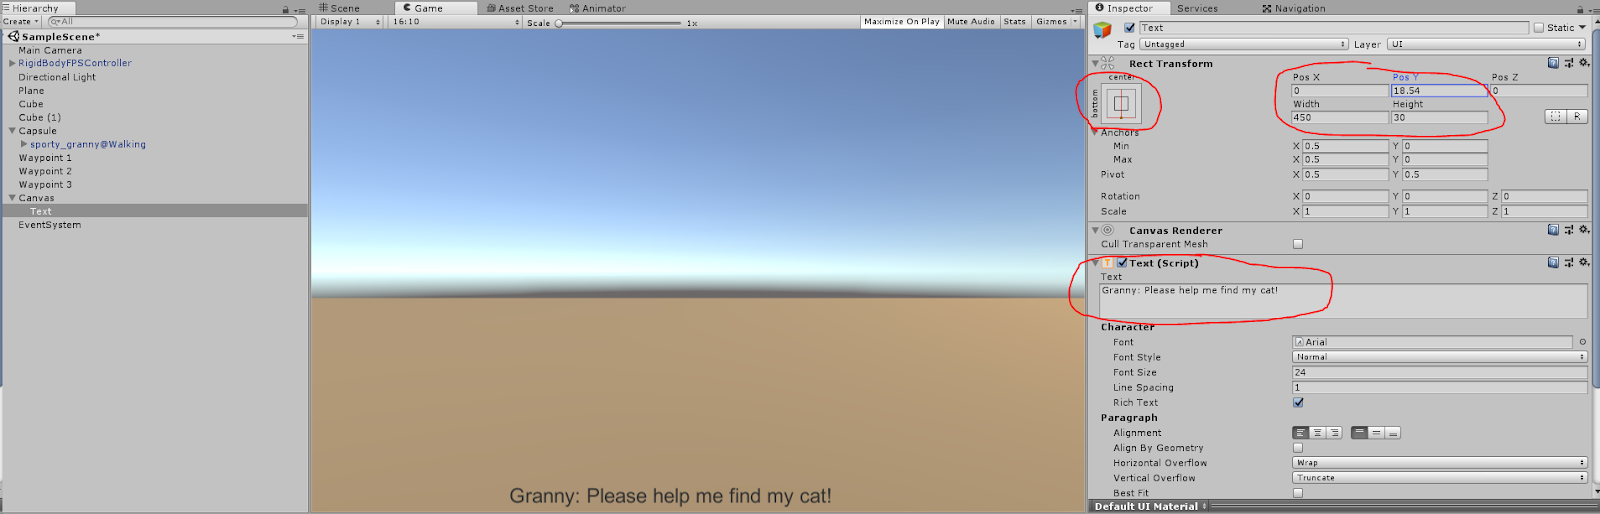
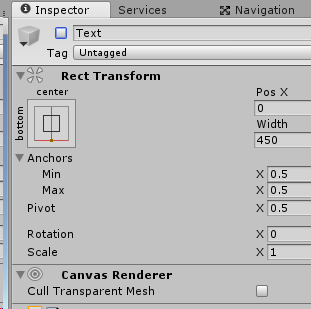
- Decide what your Quest Prompt should say, and remember to bind the text object’s Rect Transform to the bottom of the screen
- Disable the text object by default, we will toggle it on from the script
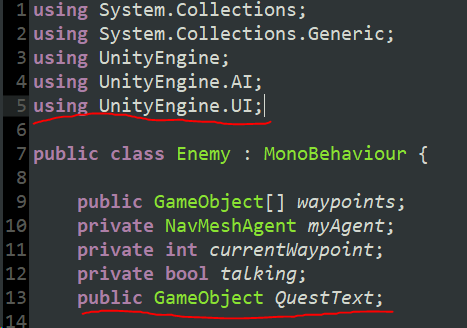
- Add using UnityEngine.UI to the top of the script and make a public GameObject for the quest text
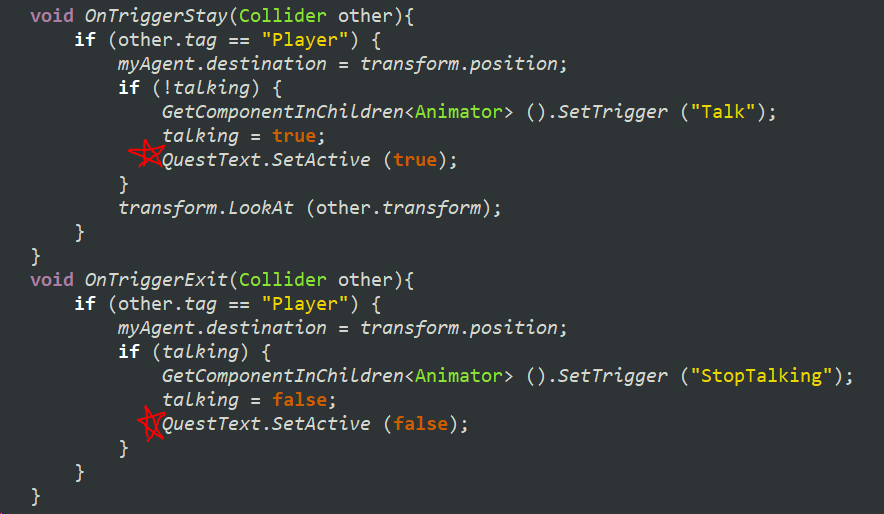
- Set the QuestText true and false in the appropriate places
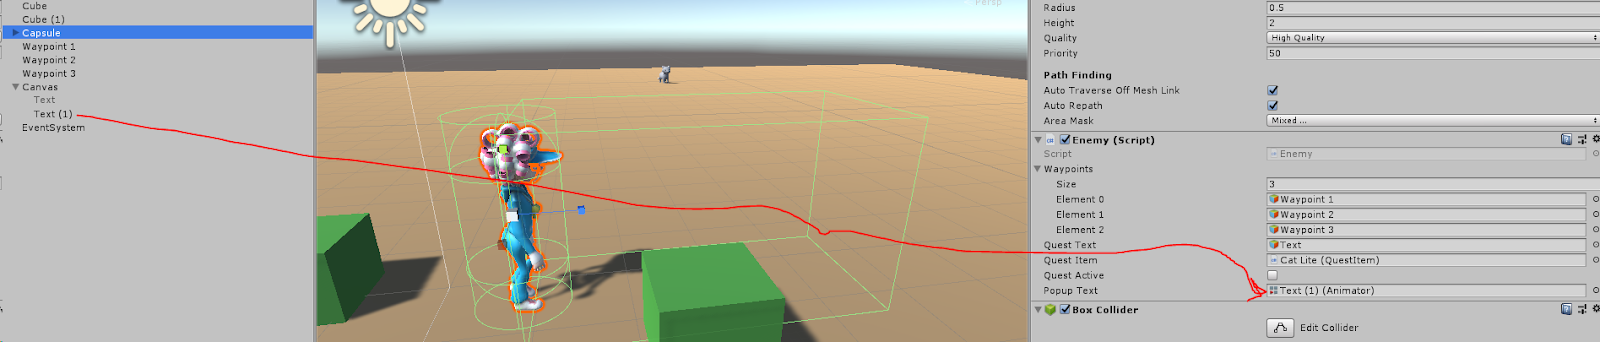
- Drag the QuestText to the empty GameObject slot on your character
- Be sure to test!




Quest Items and Activating the Quest
- Create a new C# script for the Quest Item (QuestItem.cs)
- Find a model to use as the Quest Item and give it a BoxCollider marked as IsTrigger, be sure the collider goes around the entire object
- Attach the QuestItem script to the object
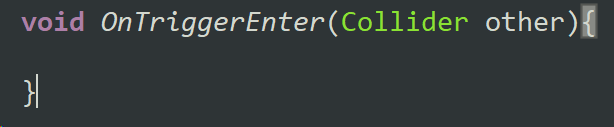
- In the QuestItem script, add the OnTriggerEnter function
- Create a public bool to keep track if the player has collected the item
- If the colliding object is the player, set that tracking bool to true
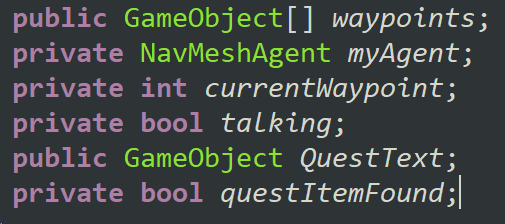
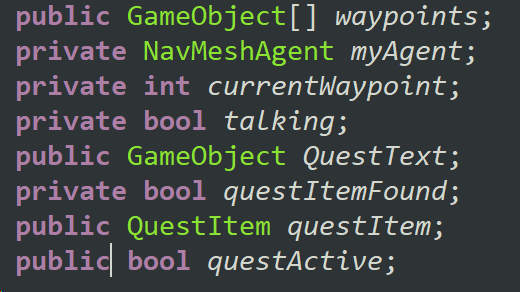
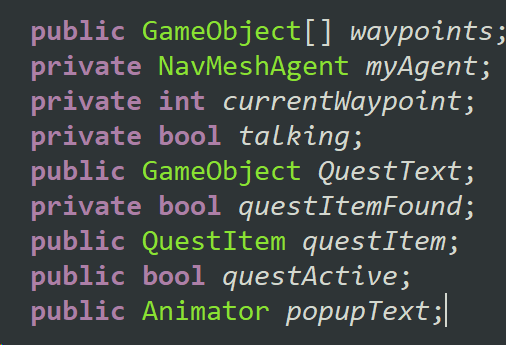
- Back in the character’s script, we need a bool to keep track if the quest item was found
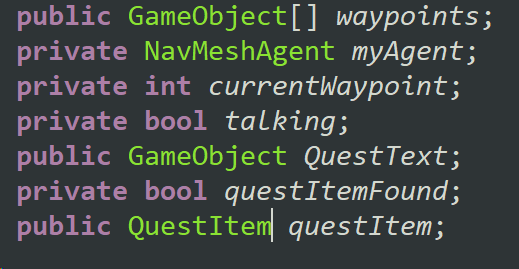
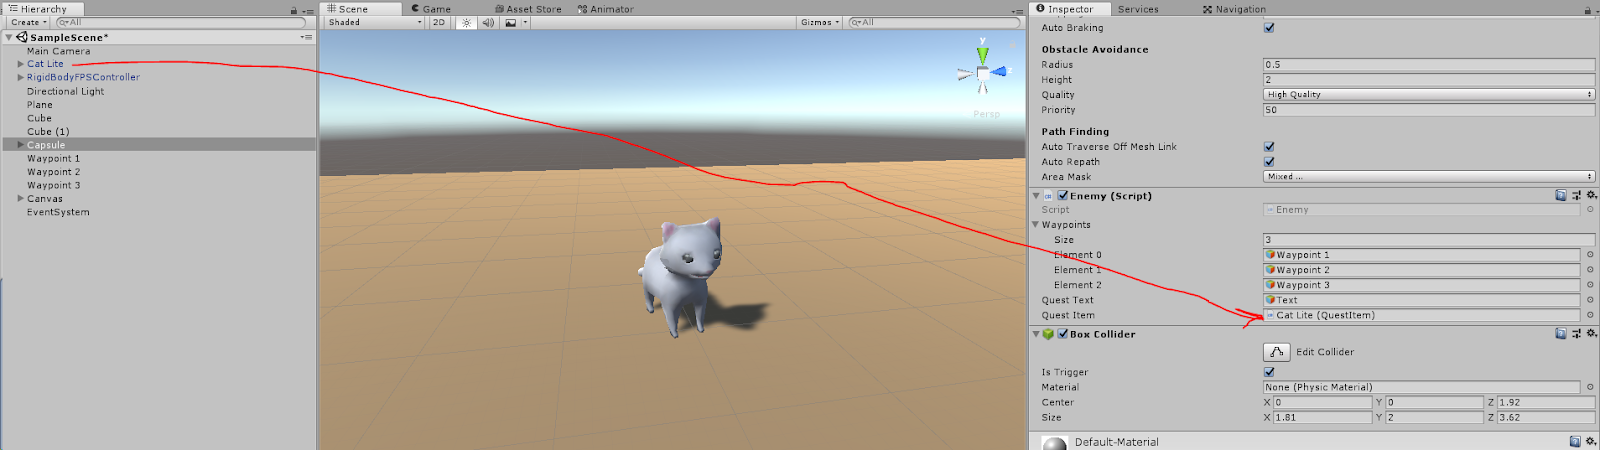
- And we need a public QuestItem to link to the quest item object in the scene
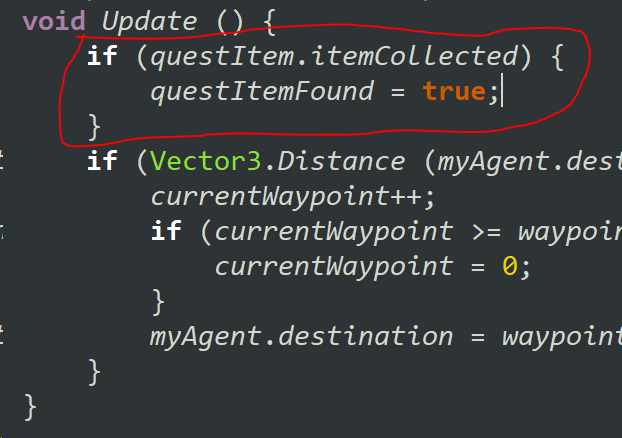
- In the character’s Update function, check to see if the quest item was collected
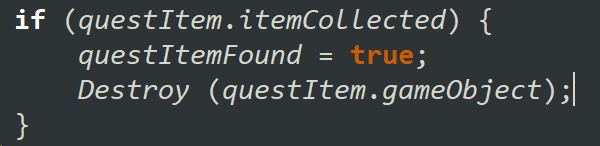
- If it was collected, we want to destroy it
- And we only want to run this check until it has been found, otherwise this check will throw an error after the object is destroyed
- Be sure to link the Quest Item to the public slot on the character’s script
- At this point if you test, the Quest Item should disappear when you collide with it
- We should also add a public bool in the character’s script to activate the quest after the player talks to her
- Activate the quest when the player talks to her
- In the QuestItem script, we need a public reference to the character’s script (in this case I left it called Enemy.cs from the previous tutorial, even though it is now used as an NPC)
- Before collecting the item, check if the questGiver’s quest is active
- Remember to link the character to the QuestGiver slot in the scene
- Now the cat can only be collected after the quest has been activated by talking to the granny








Completing the Quest
- We need to add a new section to the talking portion of the character’s script to change the text if the Quest Item was found
- Now to reward the player for completing the quest. Create a new Text object to show the reward, in this case I’m going to give the player XP
- We want this text to be large, bright, and eye-catching
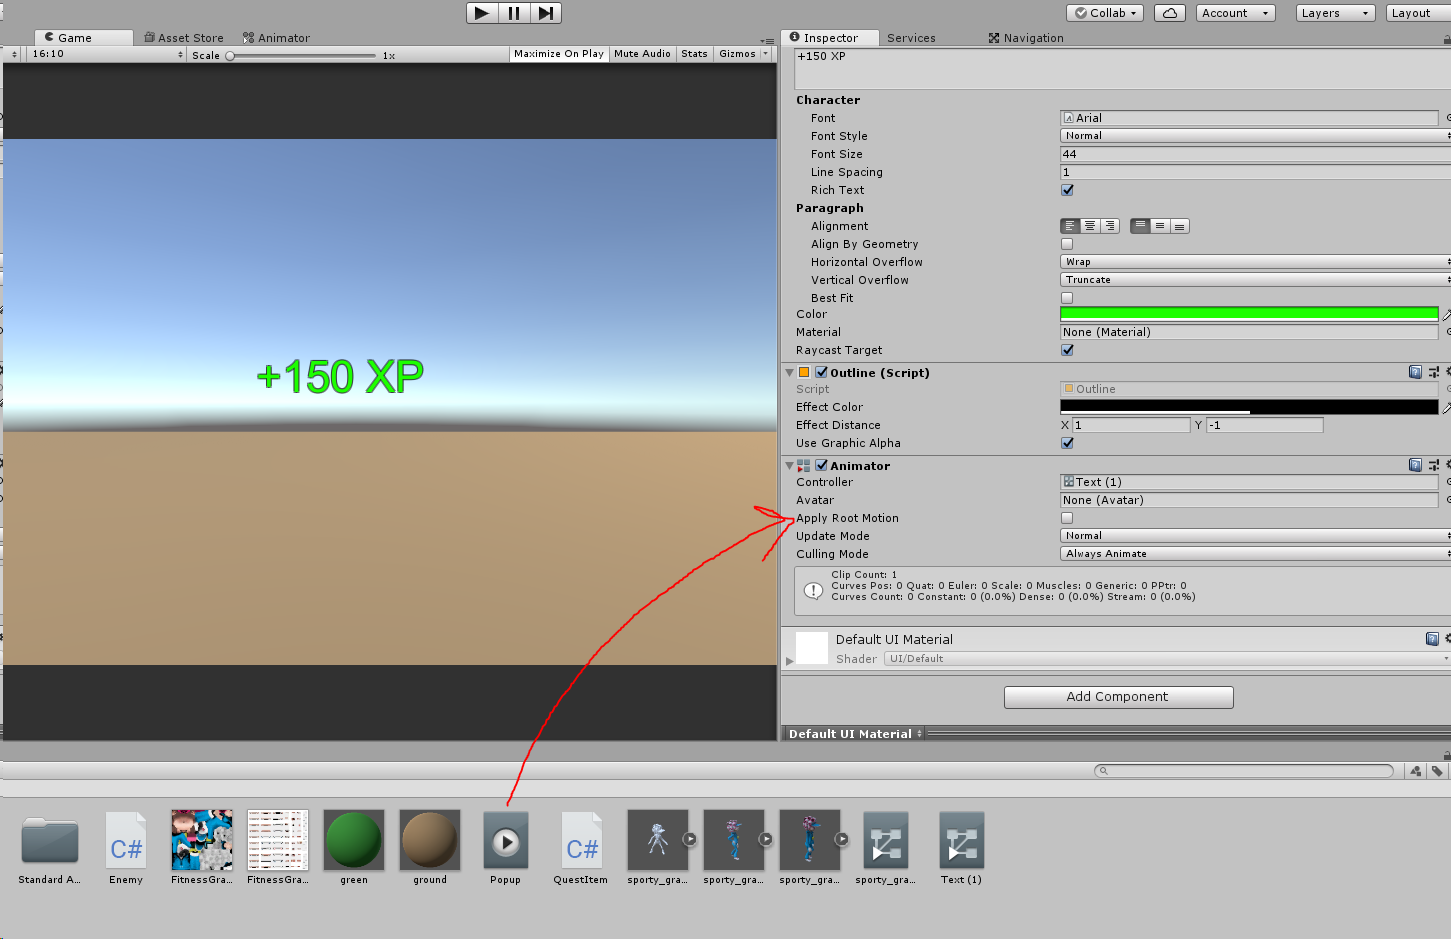
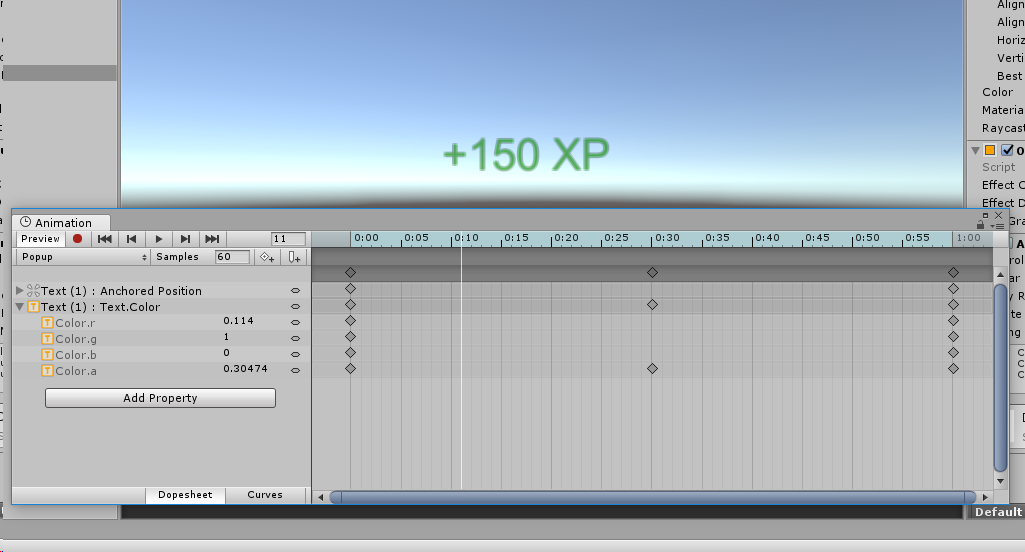
- Let’s create an Animation to make the text popup more exciting
- Attache the new animation to the Text Object
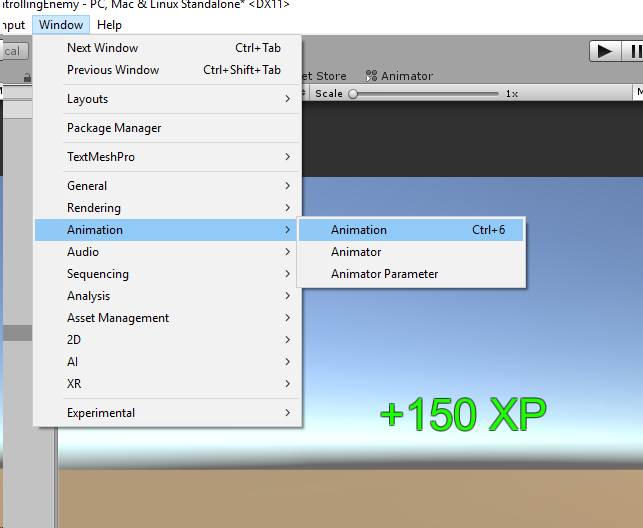
- Open the Animation window
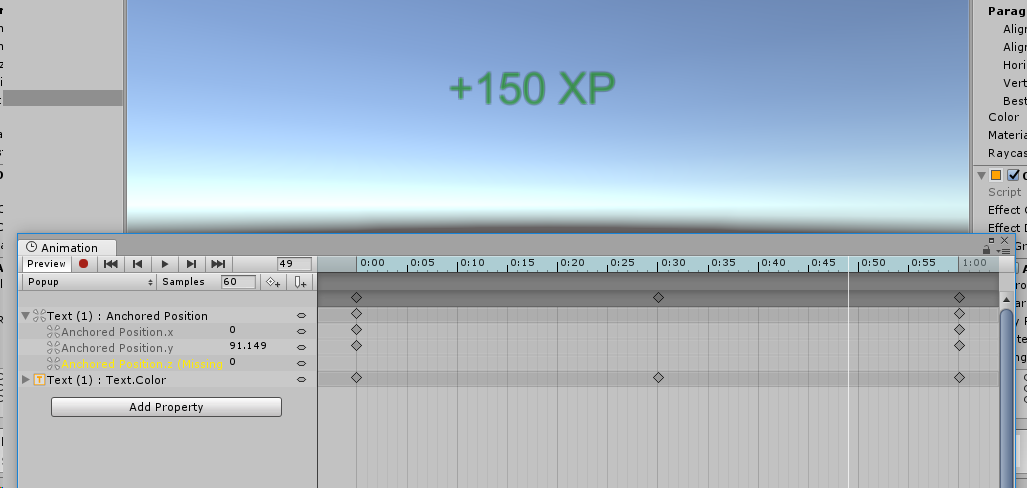
- Make sure you have the text selected, then Add Property for the Text.Color and Anchored Position
- Give it an Alpha of 0 for the start and end keyframe, and Alpha of 1 for a keyframe in the middle, so it fades in and out
- Set the Y value higher in the last keyframe so the test floats upward
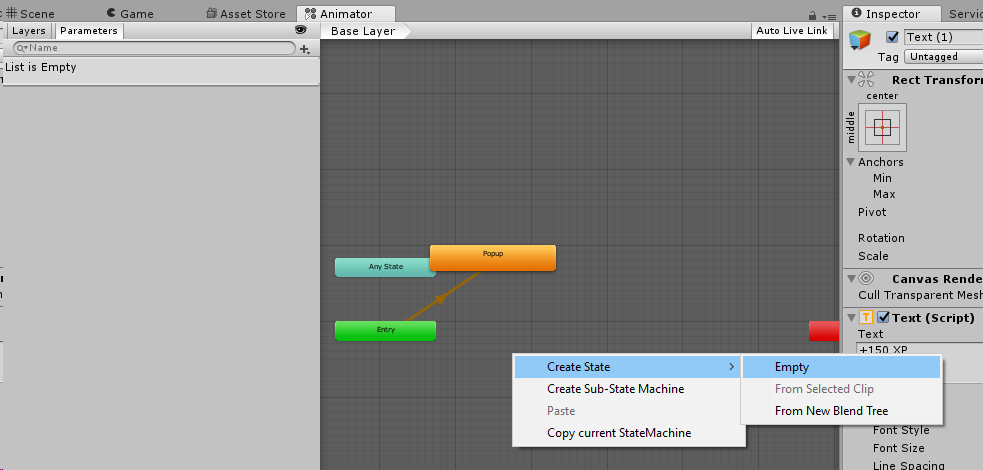
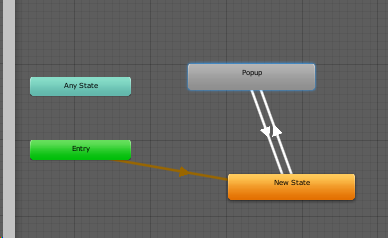
- Now we need to trigger the animation. In the Animator window, create an Empty State
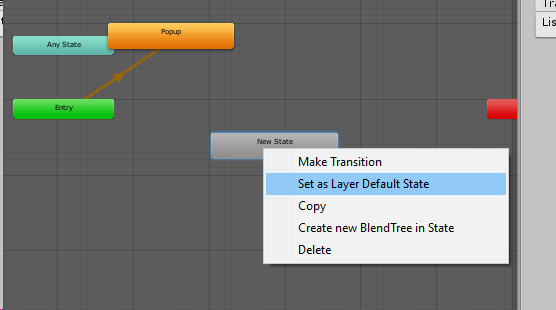
- Set that as the Layer Default State
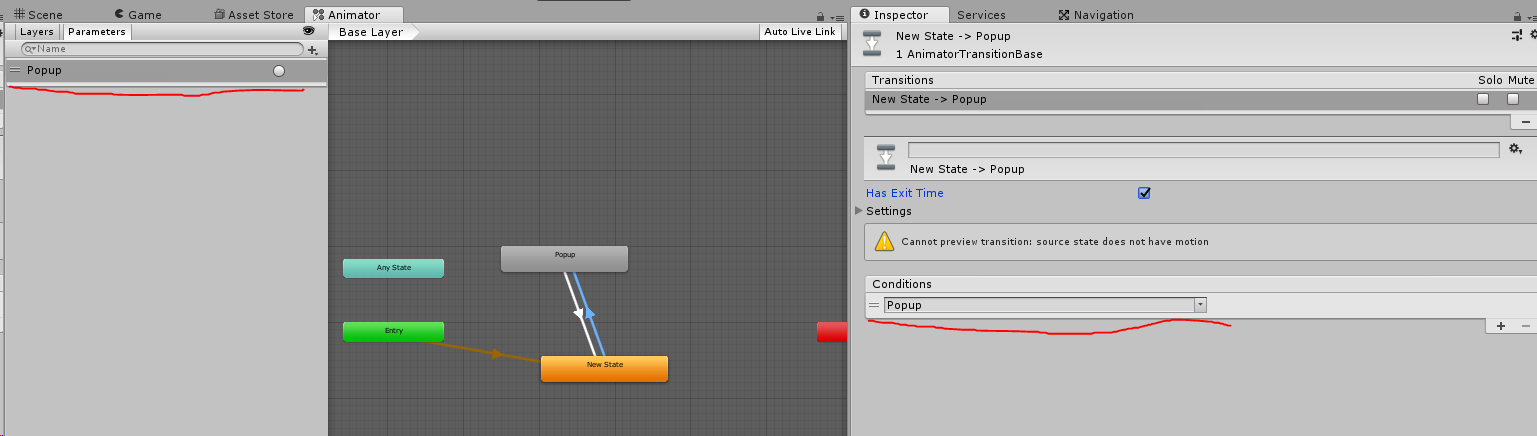
- Make a transition to and from the Popup animation
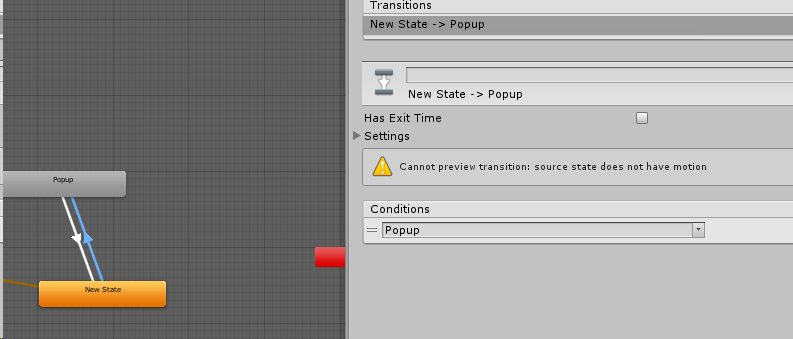
- Make a new Trigger in the Parameters tab and use that as the Condition to transition to the Popup animation
- Remember to uncheck the box for Has Exit Time
- Back in the character’s script, add a new public Animator to reference the popup text in the scene
- In the quest completion part of the script, trigger the animation
- Remember to drag the text into the public slot you created
- Set the starting Alpha for the text to 0 so it is not visible from the beginning





Summary
You should now have a quest giver that requests a specific item, the ability to go and collect that item, and a reward when you return to the quest giver. This can easily be expanded for a quest giver to ask for a certain number of things like “collect 50 gems” or “kill 10 enemies”


