One of the most-requested features I get asked about in the Game Design classes I teach is how to make a patrolling enemy that will "spot" the player. I've been making a lot of video tutorials lately, but for this one I've decided to make a text tutorial. So here it is, how to set up a basic patrolling enemy that will "spot" the player.
Patrolling Enemy
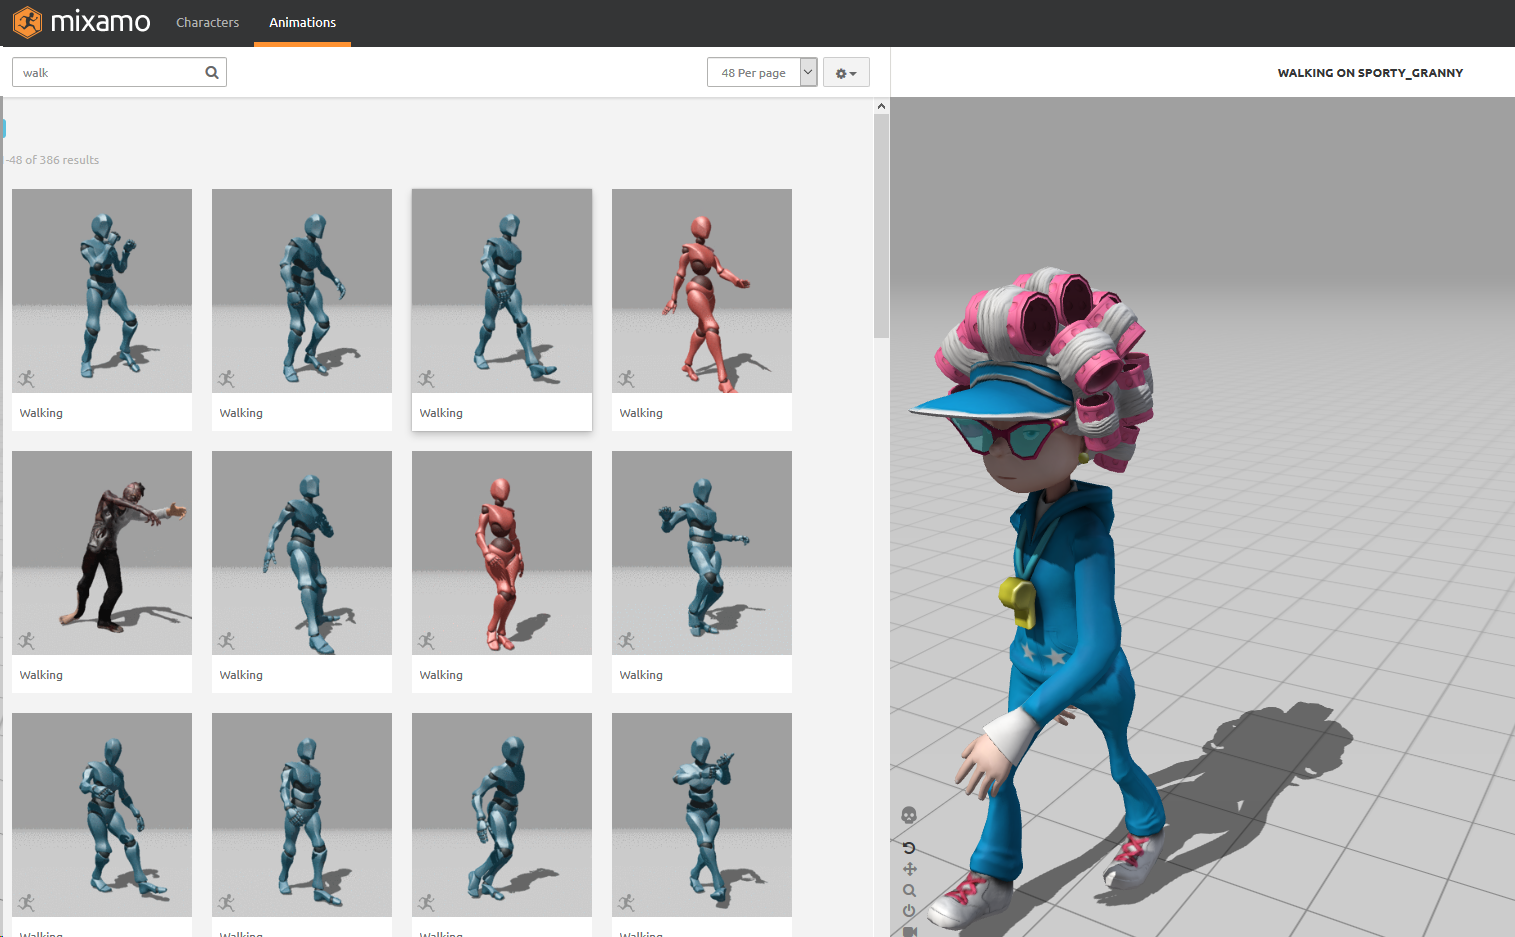
Download Enemy Character and Animations from Mixamo
- Go to https://www.mixamo.com
- Log in or sign up
- From the Characters tab, select a character you like
- From the Animations tab, select a walk cycle
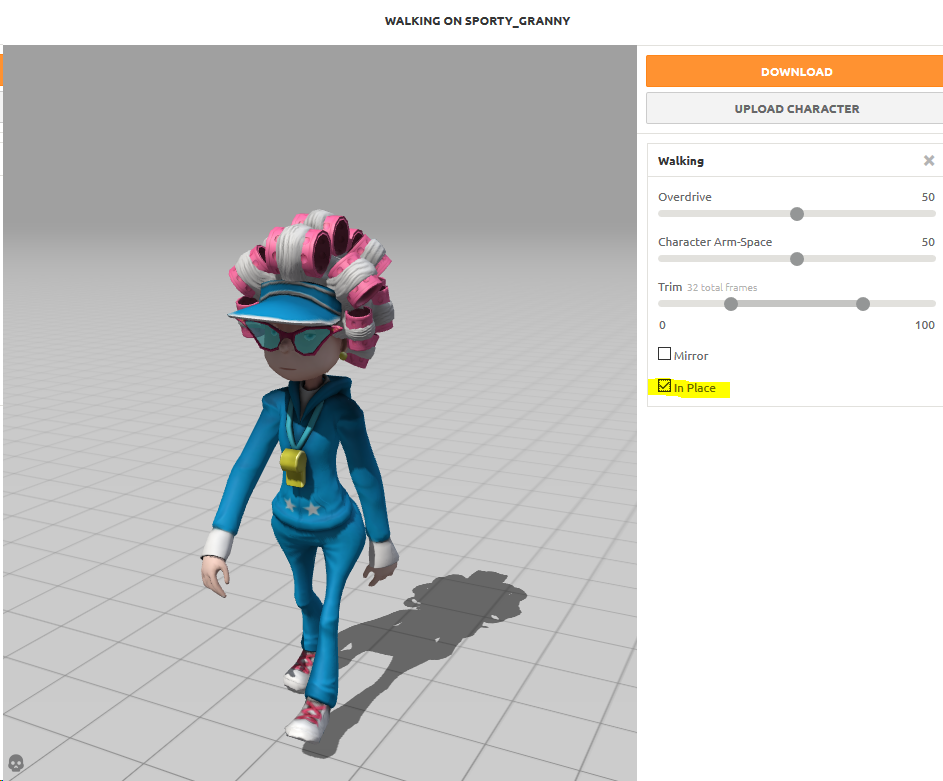
- Check the box for In Place
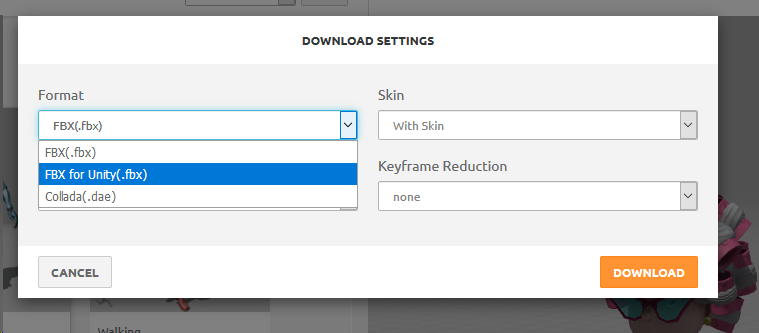
- Download as FBX for Unity
- Download a second time for Collada, which gives a .zip folder with the texture files
- Find a second animation, such as an Attack, and download as FBX for Unity
- Import the FBX and the texture files to Unity

Setup and Bake NavMesh in Unity
- Create a Ground Plane in a new empty scene
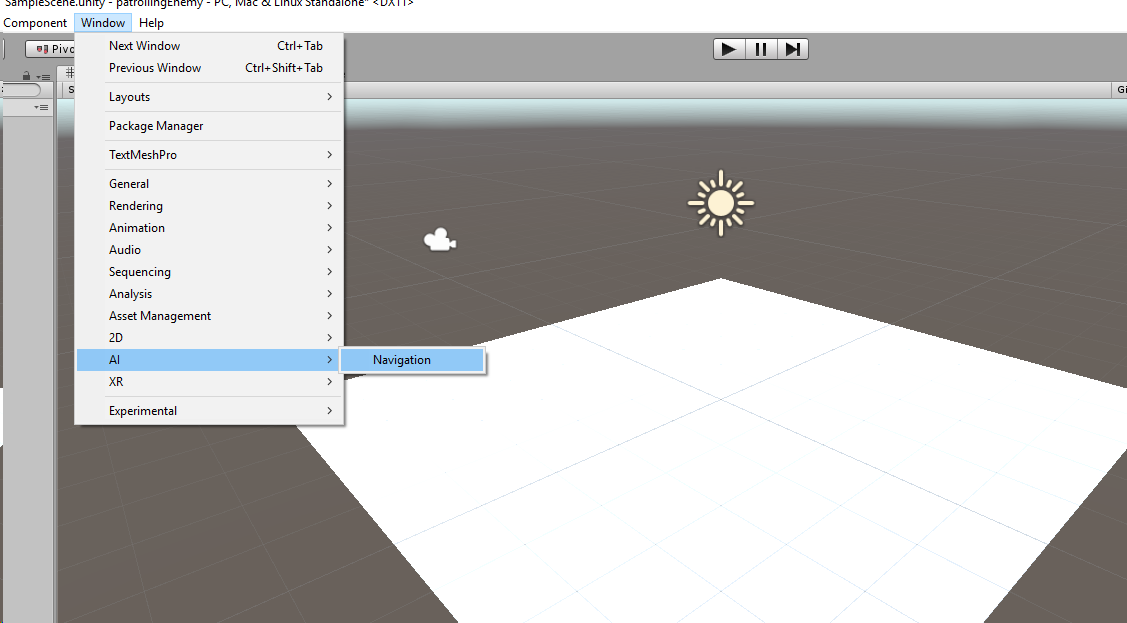
- Open the navigation panel: Window > AI > Navigation
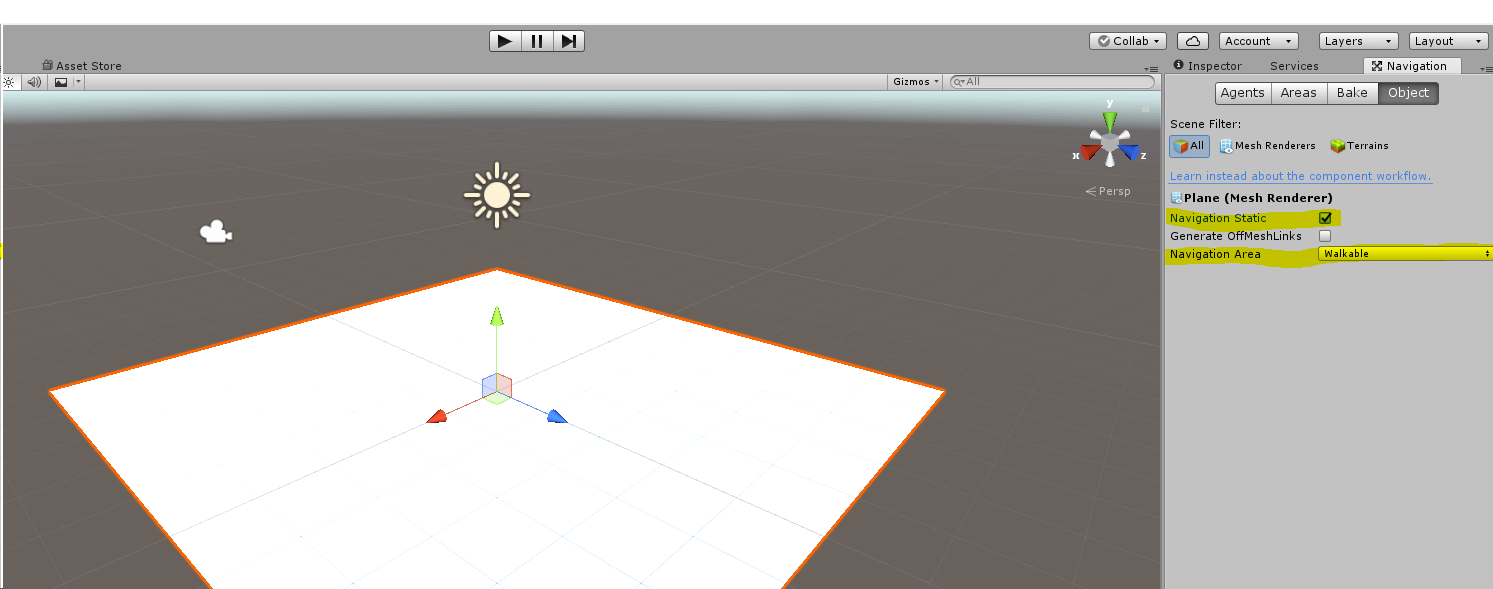
- Select the Ground Plane and mark it as Navigation Static and Walkable
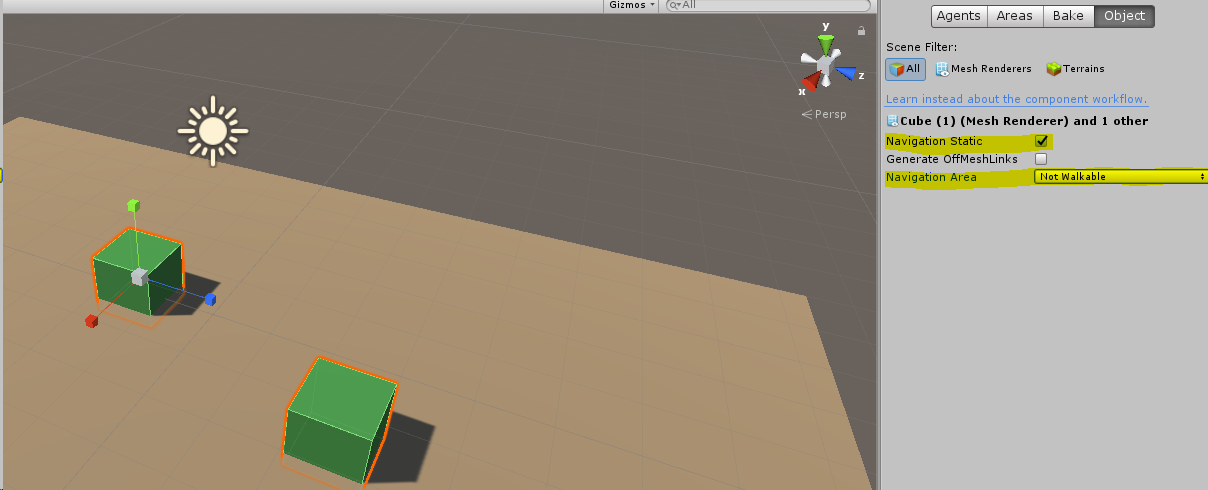
- Create some obstacles for the enemy to walk around, it’s a good idea to change the color of the ground and obstacle so you can see what you’re doing
- Marke the obstacles as Navigation Static and Not Walkable
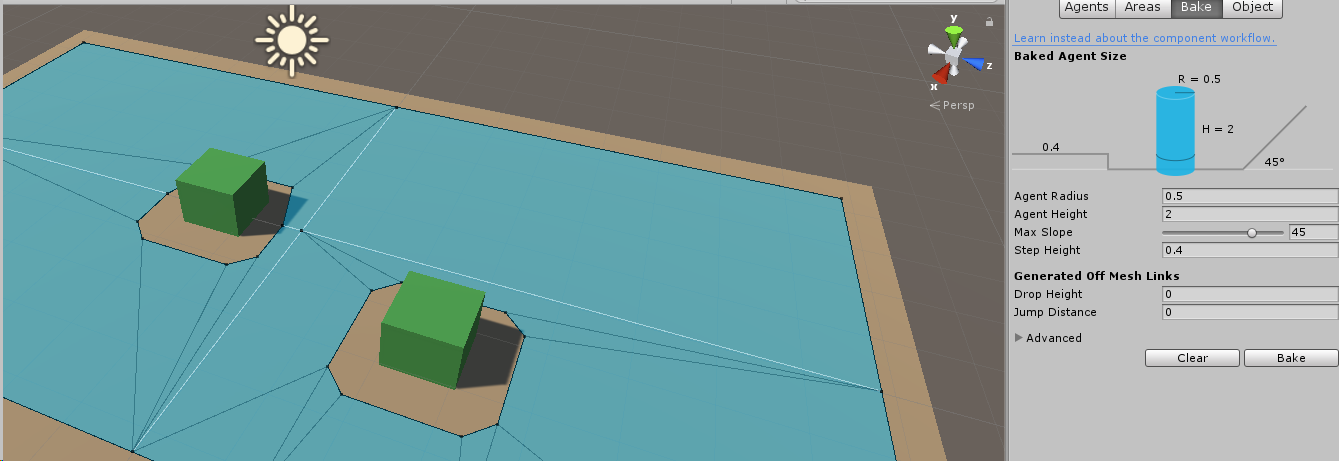
- Select the Bake tab and choose Bake
Create NavMeshAgent and Player Character Controller
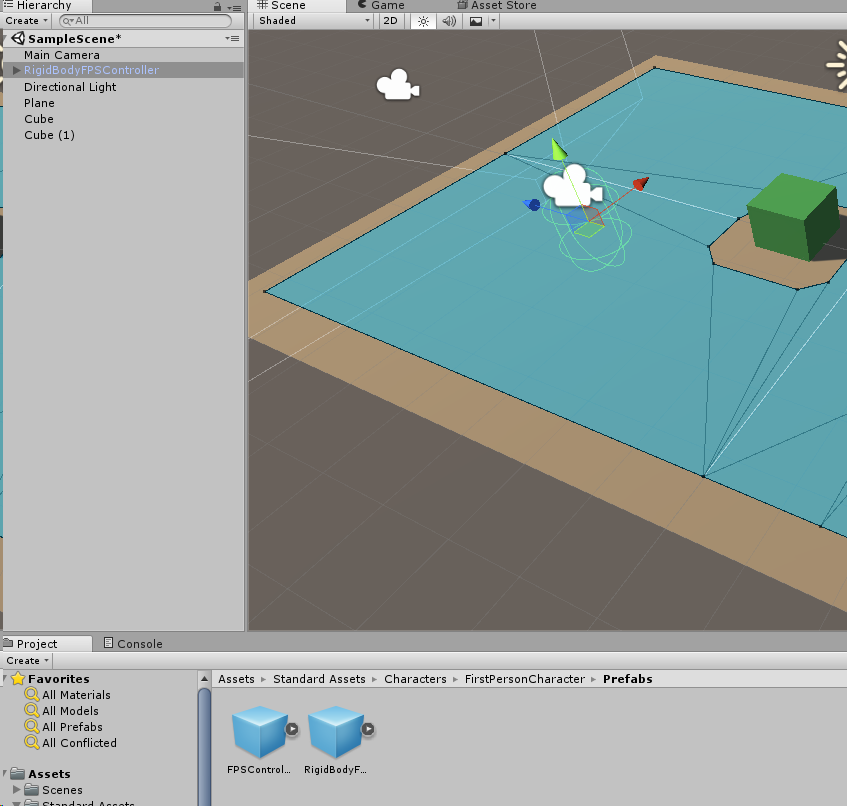
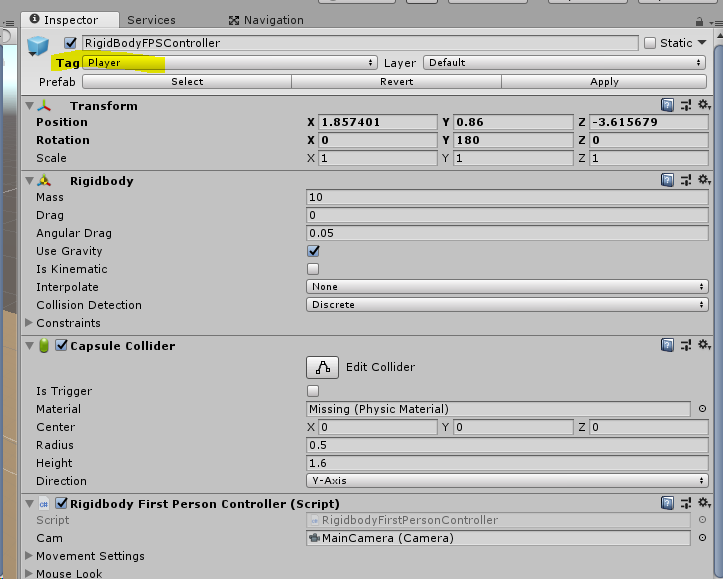
- Create a Character Controller for the player, or download the Unity Standard Assets FPS controller and place it in your scene (if using the FPS controller, be sure it is above the ground)
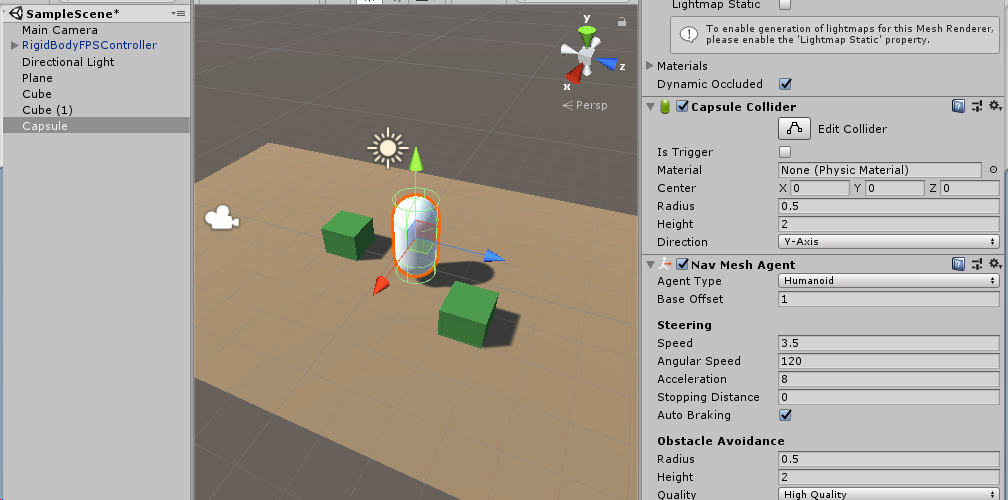
- Create a 3D Capsule object in your scene and give it a NavMeshAgent Component
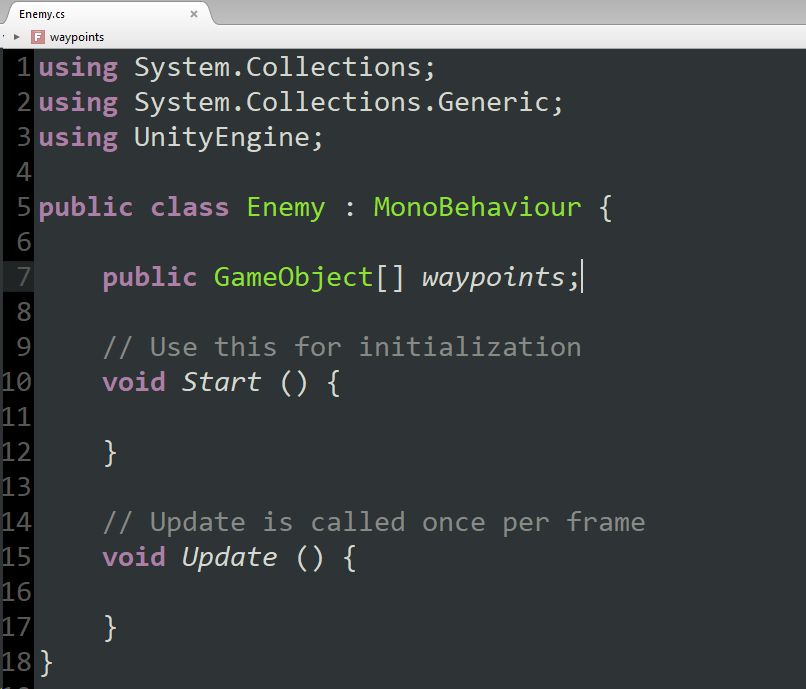
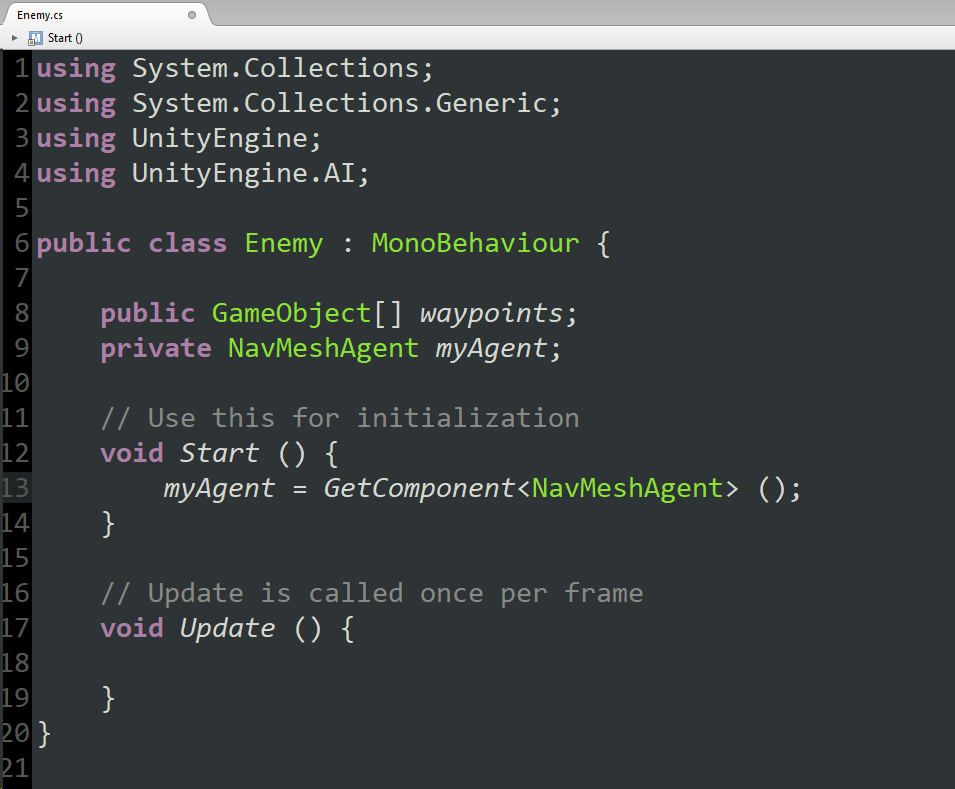
- Create a new C# Script called Enemy and attach it to the Capsule
- Open the script and create a Public Array of GameObjects
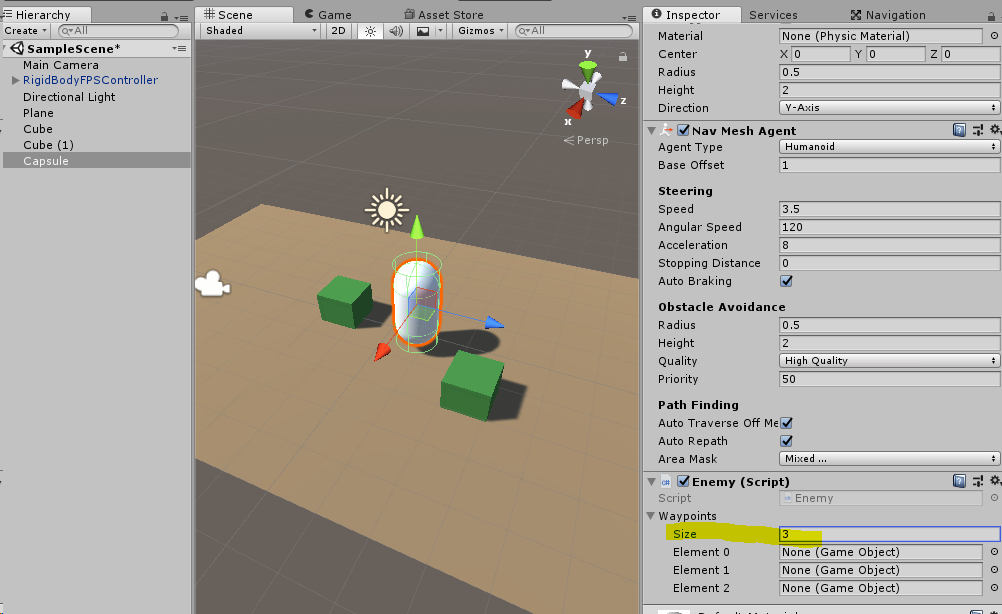
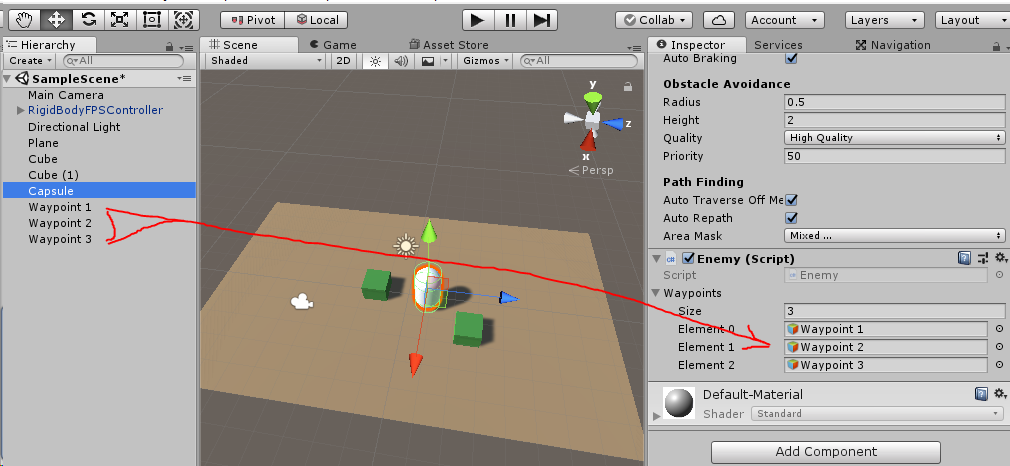
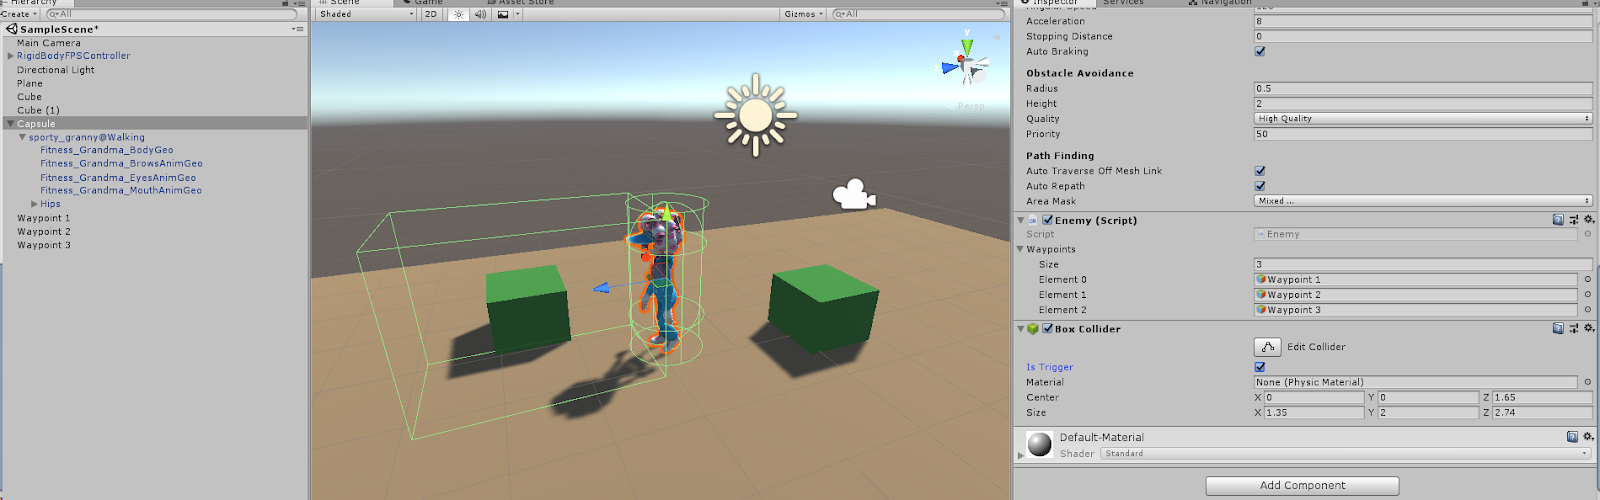
- Back in the Unity scene, select the Capsule and set the public array size to 3
- Create 3 Empty GameObjects and place them around the scene (these will be the waypoints for the enemy to walk to)
- Drag each of the waypoints into one of the GameObject slots on the Capsule
- Back in the Enemy script, add using UnityEngine.AI to the top of the script, create a private NavMeshAgent and in the Start function give it a reference to the NavMeshAgent component
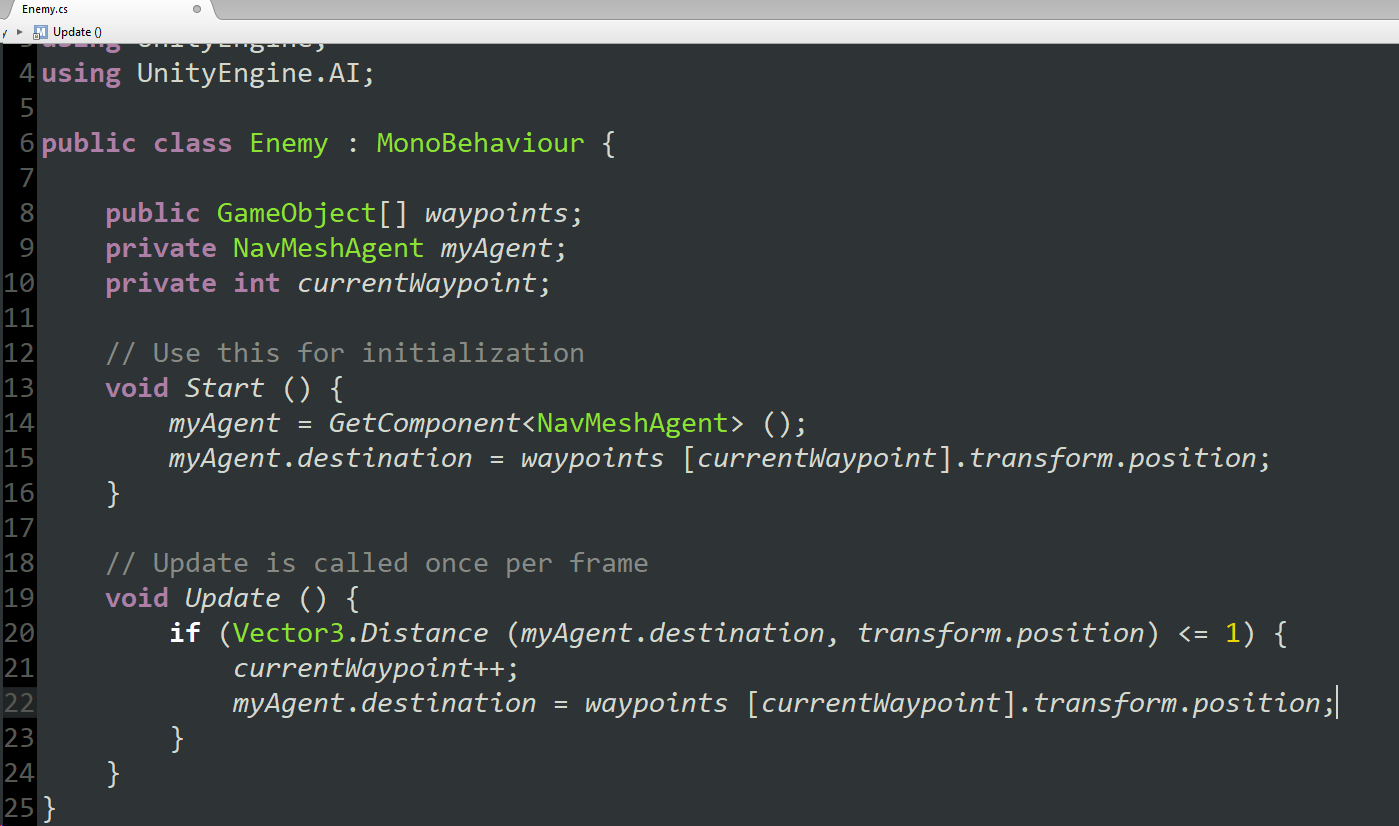
- Create a private int to keep track of the current waypoint, then in the Start and Update functions specify the desired waypoint for the NavMeshAgent.destination
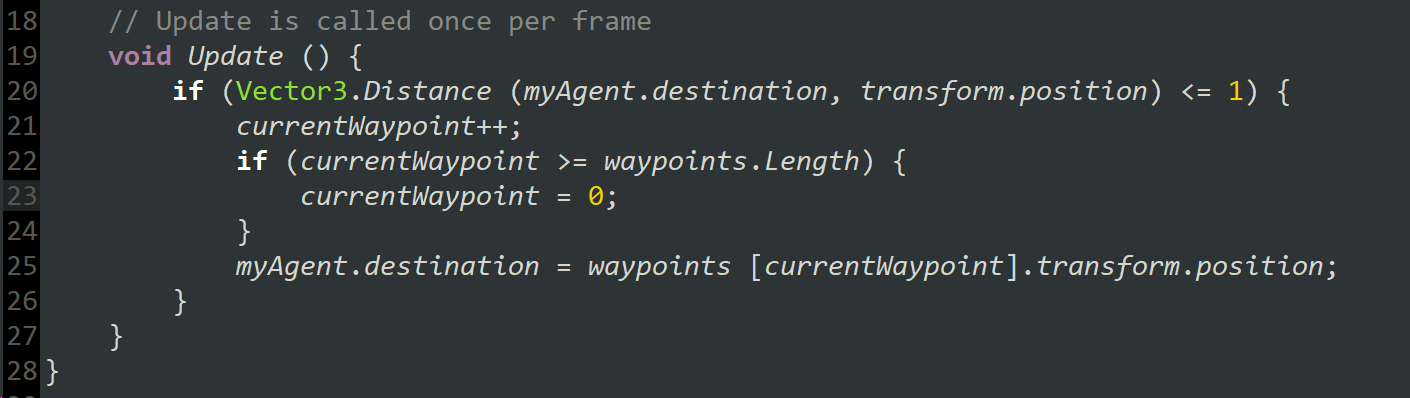
- Save and test and you will see the enemy walk between each of the waypoints until it reaches the end of the patrol path...update the script so the patrol loops by resetting currentWaypoint to 0 when you reach the end
- Test again to ensure the enemy loops on the patrol path

Link Character Model and Animation to NavMeshAgent
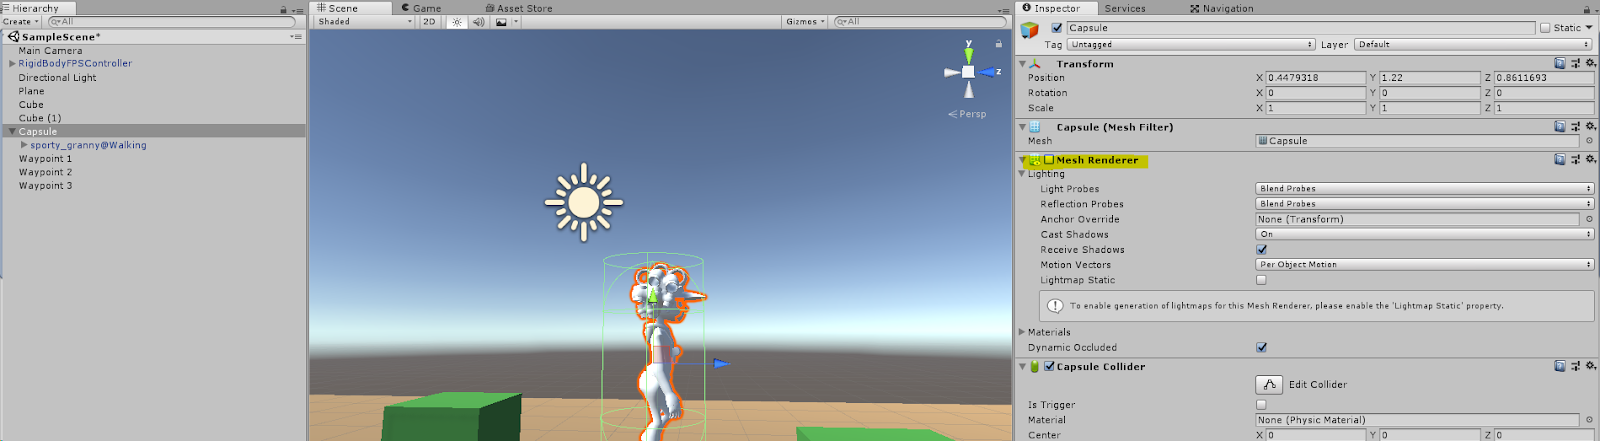
- Drag the enemy character model onto the Capsule to make it a child and turn off the Mesh Renderer on the Capsule
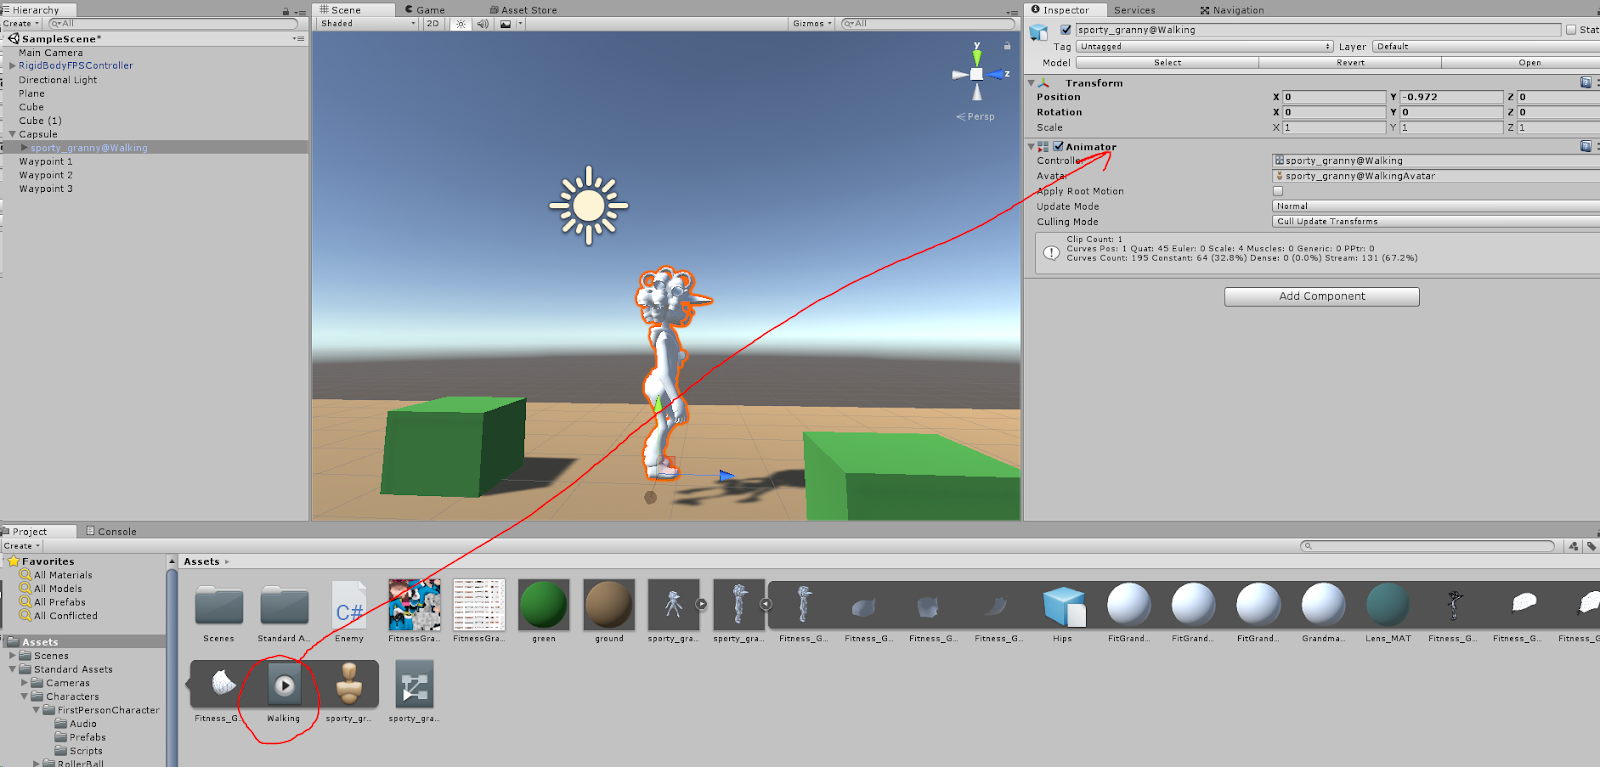
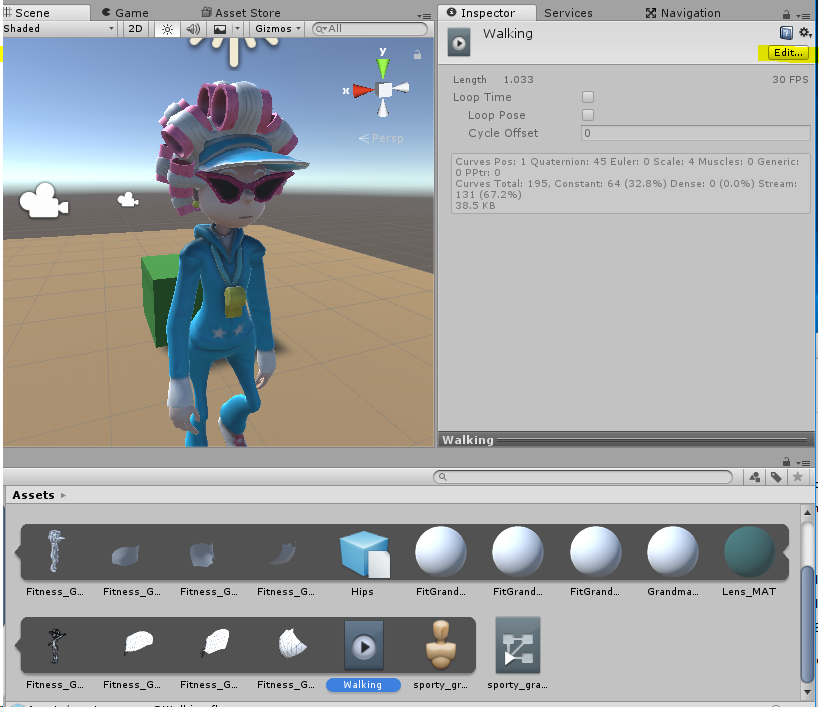
- Select the enemy character model in the scene and drag the Walking animation onto the Animator component
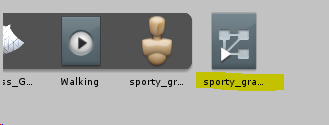
Note that it creates an Animator Controller in your project folder when you do this - Apply the textures to the character Geo
- Select the walking animation and choose Edit
- Check the box for Loop Time and Apply
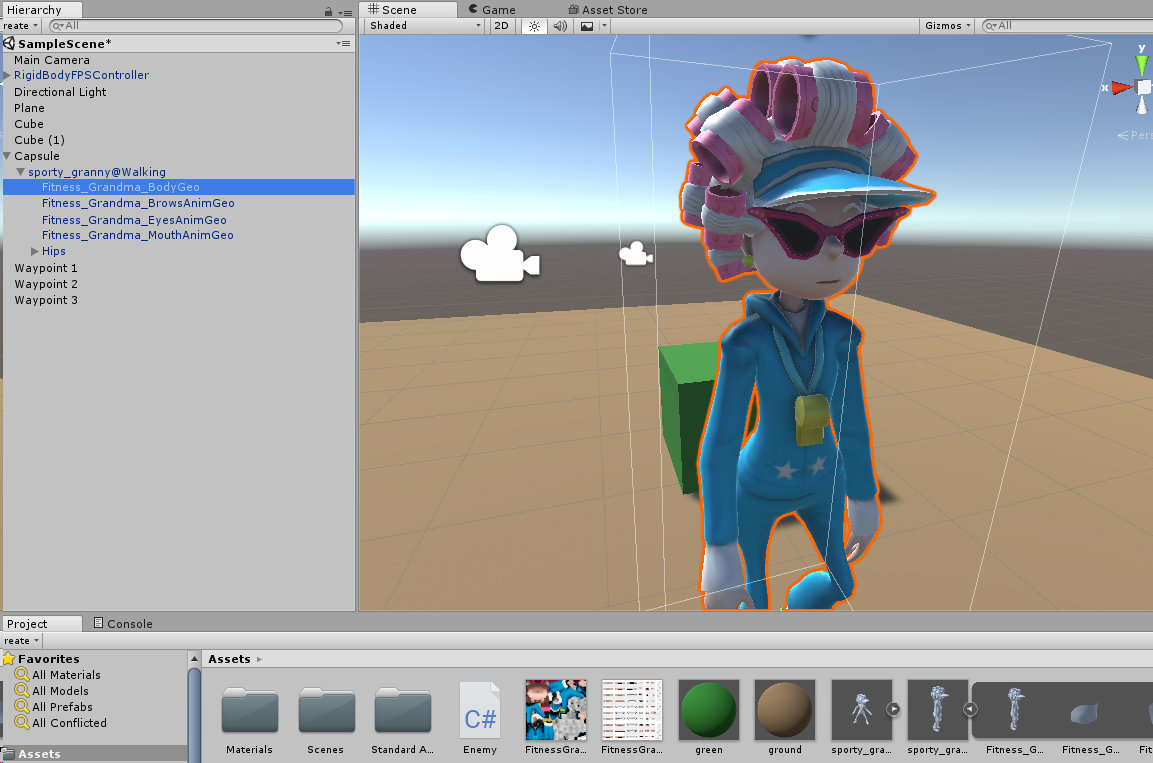
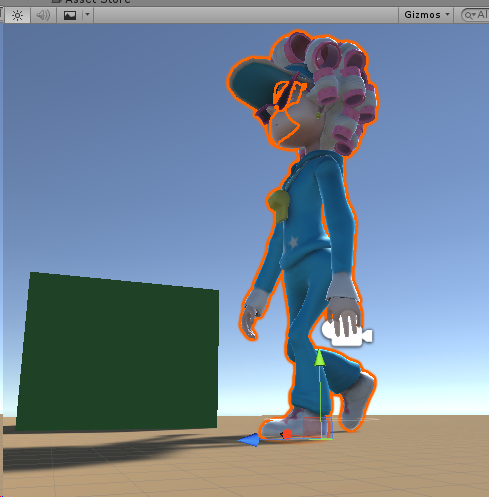
- Test again to see the character walking along the patrol path. While testing, check to ensure the character’s feet are making contact with the ground

Script Enemy Vision and Attack Trigger
- Attach a Box Collider component to the enemy Capsule and mark it as Is Trigger and position and scale it to represent the view area of the enemy
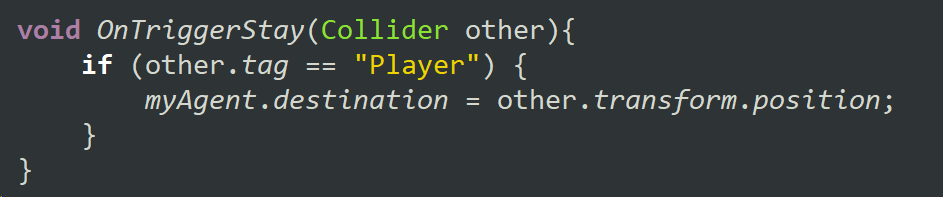
- Add an OnTriggerStay function to your Enemy script to check for the Player character
- Be sure to tag the player as Player
- You may want to expand your play space to test this new functionality, be sure to rebake the NavMesh if you do
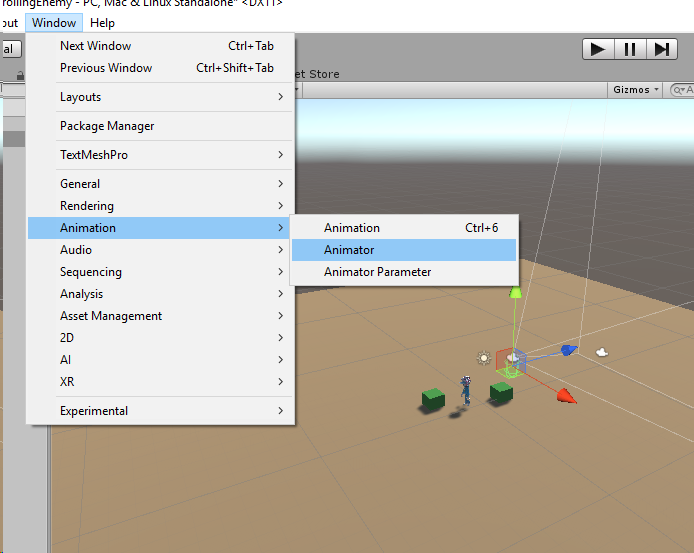
- Open the Animator wind from Window > Animation > Animator
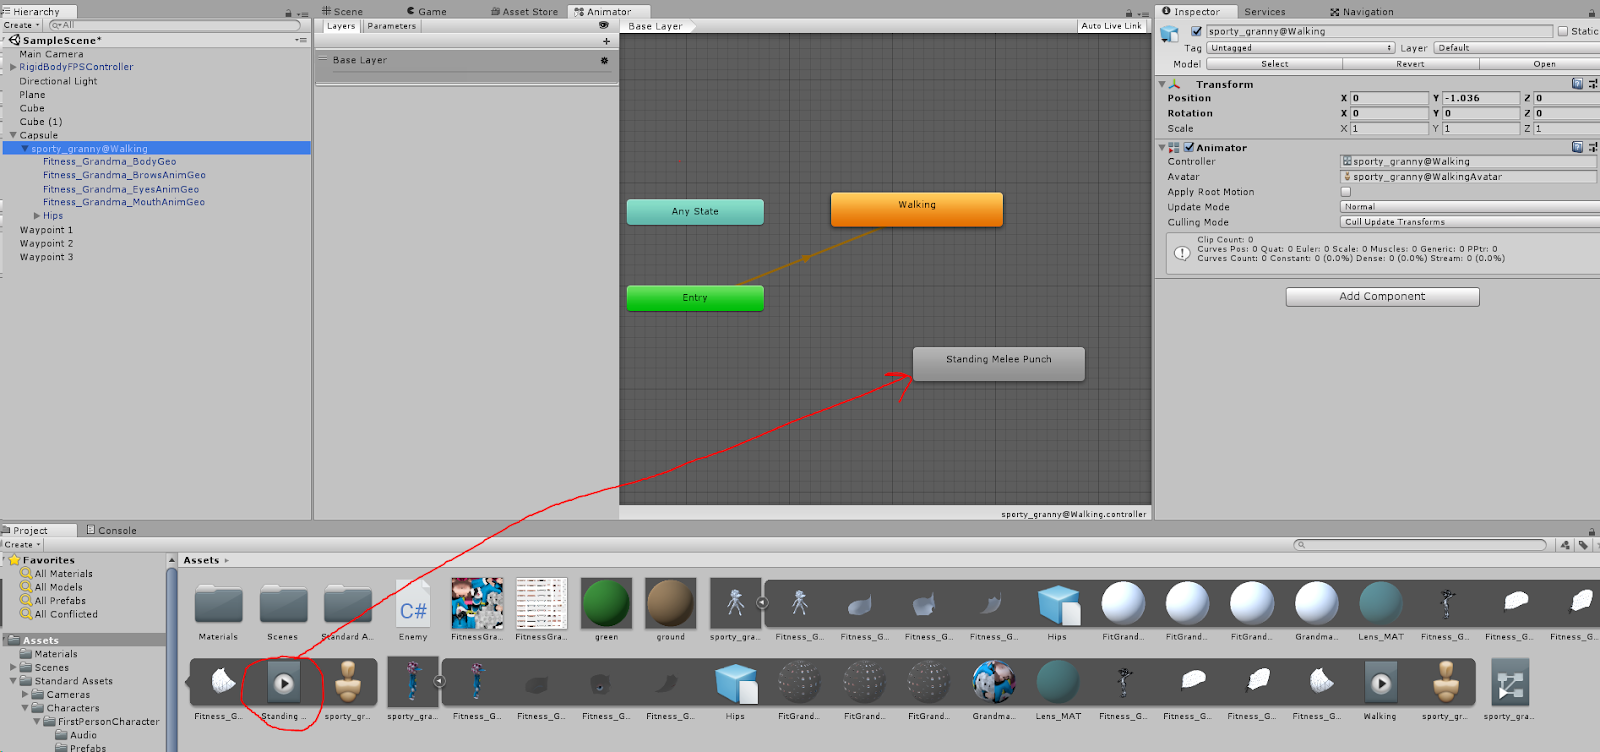
- Select the animated enemy character and drag the Attack animation into the Animator
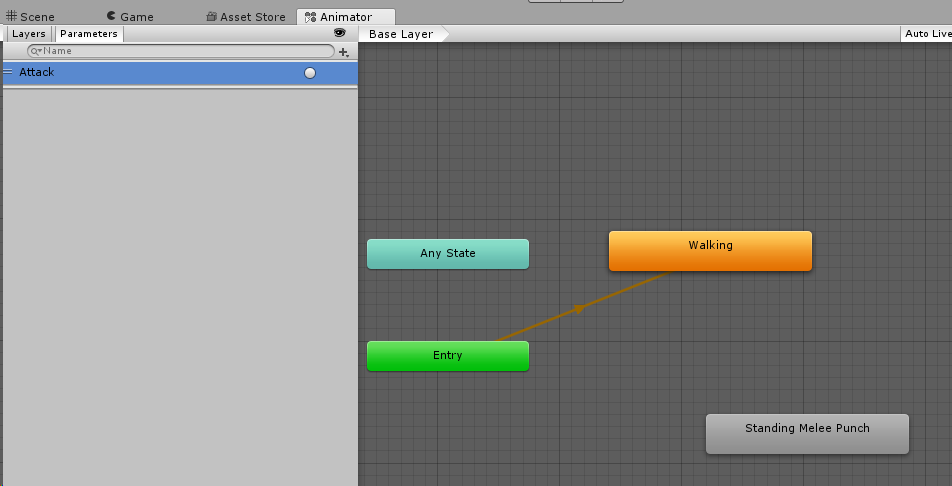
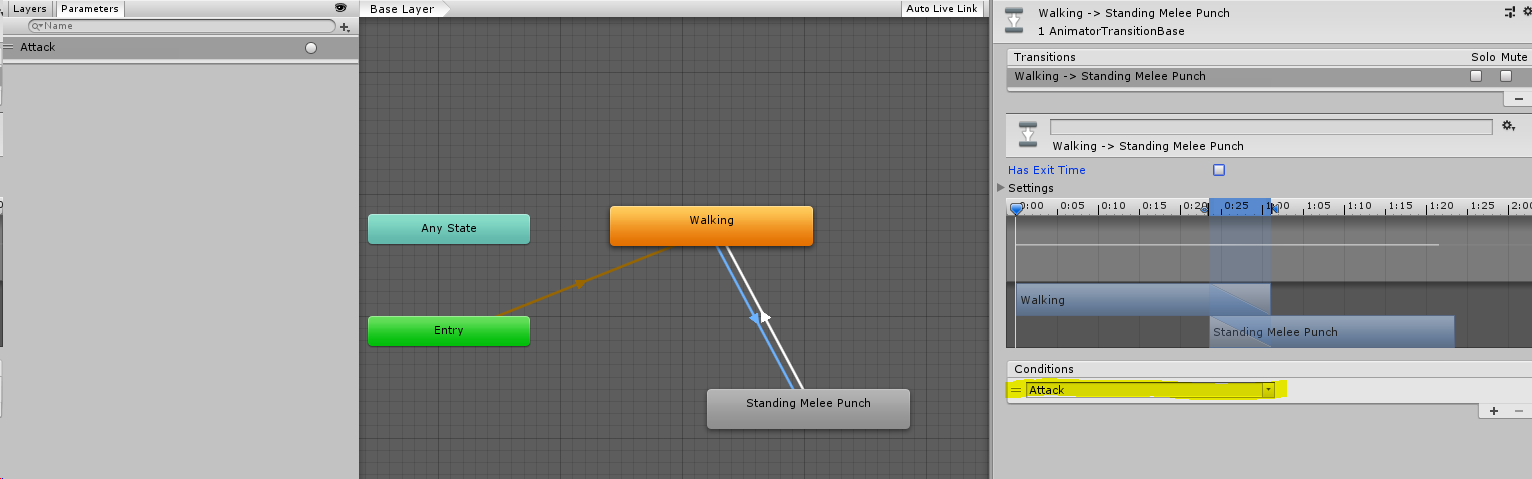
- On the Parameters tab make a new Trigger called ‘Attack’
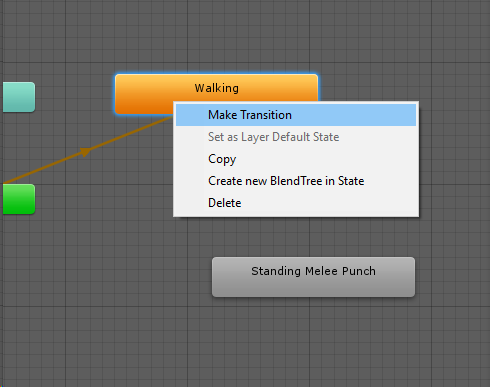
- Right click on the Walking animation and make a transition to the Attack animation
- Make a corresponding transition from the Attack to the Walking animation
- Select the transition to the Attack and add a condition for the Attack trigger you made before and uncheck the box for Has Exit Time
- If the enemy is within range of the player, set the target destination to the enemy’s current position and trigger the attack animation, otherwise use the player’s position as the destination


Summary
After completing these steps, you should have a patrolling character that will interrupt it’s patrol to follow the player if the player gets in her view range, and if the enemy gets close enough to the player while following she will attack. If the player gets out of the view range of the enemy she will return to her patrol.
Thanks for reading, and if you've found this tutorial helpful I hope you will subscribe here and on my Youtube channel: www.youtube.com/c/AstireGames