Friday, October 5, 2018

The Making of Cosmos Arena


Cosmos Arena is a local multiplayer party game for up to 4 players. Right now it is PC only but we hope to make an XBox port as well.


I'd like to share with you the story of how Cosmos Arena came to be.

Getting Started

My team started working on this project in 2016 when I was still working a full time job in AAA. I launched my studio Astire Games and brought on some contractors, most of whom were also working day jobs, so we were moonlighting to get to the first prototype.

First Prototype

In this prototype we started on the core mechanics - character movement and traps

At some point I realized that AAA work was not satisfying my drive as a developer, and working nights and weekends on Cosmos Arena wasn't enough for me. On top of working AAA and moonlighting, I was also teaching Game Design as an adjunct faculty.

Leaving a comfortable day job for a side project is a risky move, and I don't think I would have done it if not for the teaching gig. I was pretty confident I could live on my teaching income for at least a few months, so I decided to take the leap and I left AAA to go indie.


Funding

Anyone who has tried to get a project up off the ground knows that it takes money. Even if you are the only one working on the project, you at least need enough for yourself to live on, but if you plan on having other people work on the project then you need a starting fund.

I was teaching 8 hours a week, and I figured if I really stretched I could live on that income. But I also wanted to have other people working on this project...There wasn't a particular skillset I was looking for since it was all prototyping at that point, but working alone can be lonely and it can be hard to stay motivated. So I found some friends who were looking for a side project who were willing to work on the cheap, and I dug into my savings from my time working in AAA.

In a lot of ways I got really lucky - I have some very talented and supportive friends with a wide range of skills, and it wasn't long at all before we had a second prototype with character animations, obstacles, sound effects, and a start screen.

Second Prototype


Contract Work

Self-funding Cosmos Arena had a limited lifespan, which I knew going in. I had hoped to get the prototype to a point where I could start soliciting outside funding.

This is where my luck started to run out...I had basically no idea how to get funding for a project. I tried looking for potential publishers, but the prototype was just not ready to meet those expectations. On top of that, I hadn't been able to find an environment artist, and the character artist and one of the programmers were leaving for new full time jobs.

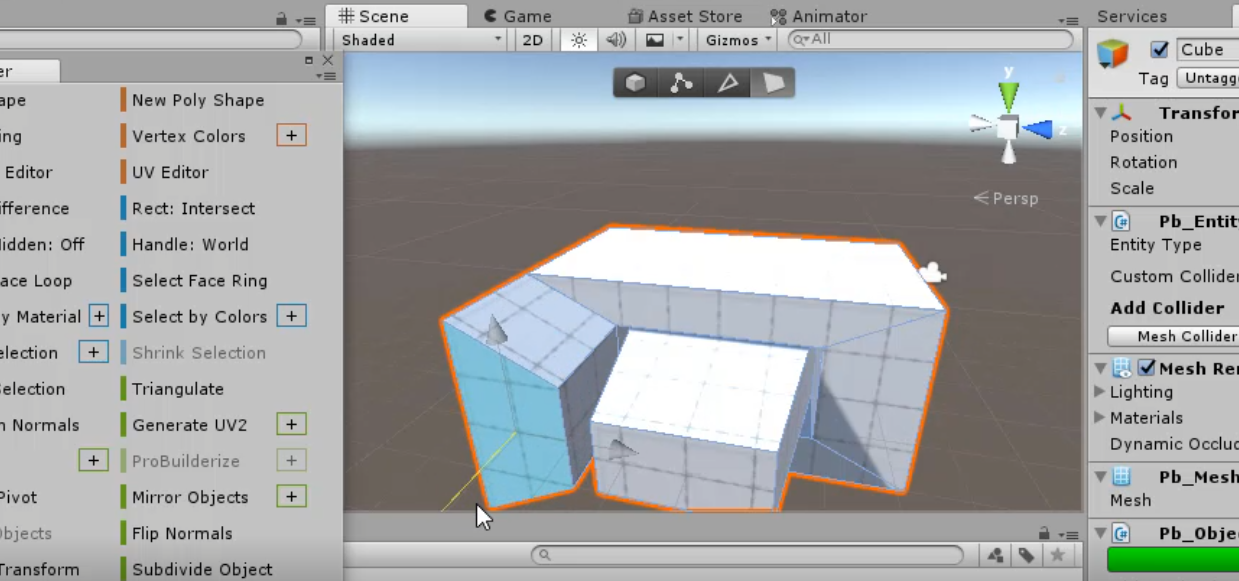
I managed to rough out the scene with some placeholder art from the Unity Asset Store, but it still needed a lot of work and I was running out of money and people.

First Art Style


Around this time I decided I either needed to get a job, or find some contract work for my team. As it happened, a contract project kind of fell into my lap. I had a programmer and a sound designer still on my team, and I was contacted by a couple who had a vision for a children's app and a budget for development. They already had some art made for it, so I jumped at the opportunity.

Contract work was great, it allowed me to keep my team together and add some new folks, and it added to the company bank account. But it was time-consuming, and it pretty much put Cosmos Arena on the back burner for several months.

Showcasing

At a couple of different times, we had an opportunity to showcase Cosmos Arena at local events. These opportunities were fantastic for getting me motivated to dive back into the project - usually there would be about 2 weeks to a month where I knew the game would be showcased and I wanted it to have something new to show, so there would be a hard push to get in new content and new features.

Showcase Build


Our showcase opportunities included the Intel Buzz Workshop at the Austin Games Conference, the Intel Indie Lounge at the Game Developers Conference, the Austin Game Dev booth at SXSW, and the IGDA booth at Dreamhack.

Second Showcase Build


Interns

Due to the sporadic nature of development on this project, all of the original team moved on to other things at various points during this timeline. Still on a tight budget, I decided to leverage my position teaching to find rising new talent looking for opportunities.

Initially I started taking interns at my company and letting them work on their own projects, which I then helped them publish. Finally I decided I had found the right interns for Cosmos Arena, so I offered them paid contract internships to spend the summer building levels.

Bringing on interns also coincided with finally having an artist to set the art direction of the project.

New Art Style and Levels


Art Direction and Iteration

There has been a lot of iteration and changes to the art style over the past two years, but honestly most of that iteration happened in the last 3 months. Here is a glimpse of some of that iteration...


Game Mechanics and Iteration

Not only did the art style change dramatically over time, also our core mechanics and design have changed. We've added new win conditions for different levels, replaced a health/damage system with a shield and one-hit-kill, we added a ghost mode when a player dies so they can take revenge on their killer, and we've incorporated building and planting to offset the killing and destroying.

Development


Alpha Release

We just hit our Alpha milestone and decided to make the game available for free for a limited time while we work through some bugs and collect feedback. If you've enjoyed learning about our development process, we would love for you to try the game and give us your feedback :)


Thanks for reading and thanks for playing!

Sunday, August 5, 2018

Prototyping Game Systems, Part 2: Building a Prototype Play Space

This is Part 2 of a 5 part series on my latest course on Pluralsight: Prototyping Game Systems. If you missed Part 1 be sure to start there!

In part 1 we covered the design-prototype relationship, how to assess design needs, and we discussed game mechanics and systems. Next we need a playable space to prototype in. When prototyping in an existing game, it's generally best to make a "safe" scene for prototyping the new mechanics, to avoid causing issues that might break the main playable scene. This is especially important if multiple developers are working on the project simultaneously.

In this course we are using Unity to develop the game, and Unity has an excellent built-in prototyping tool called Pro Builder.


Pro Builder allows you to create and manipulate 3D shapes in the Unity editor, without needing an external 3D modeling tool.


With the help of Pro Builder, you can easily shape out a playable space in just a matter of minutes. The manipulator tool allows you to adjust faces, edges, and vertices.


You can also extrude and bevel to make interesting shapes and crevices.


And when you are satisfied with your shape, you can apply textures, either to the entire shape or to individual faces. Pro Builder even has a simple UV editor to give you more precision for the texture.

For this course I've created a large open space with stairs and an arch, so the walkable ground has various heights and there is an area to walk under where the character won't be visible.


Next we drop in our character model and add a nav mesh. This game is in 3rd person, and the character controller has already been built for us and uses the nav mesh to move around.


The way the nav mesh works is it collects information about any surfaces that are marked "Static" and generates a "walkable" area, shown with a blue overlay. This nav mesh tells the character where it can walk via a Nav Mesh Agent component, which is attached to the character controller.


Now we have a playable space set up for our character to run around that doesn't interfere with the main scenes of the game, so we are all ready to start prototyping the new mechanics.


In part 3 we will build new mechanics for the game, including digging, looting, and powerups. Thanks for reading, and if you enjoyed this please check out the full course on Pluralsight: Prototyping Game Systems for Swords and Shovels.


Tuesday, July 31, 2018

Prototyping Game Systems, Part 1: Design-Prototype Relationship

In this 5 part series I will give an overview of the topics covered in my new Pluralsight course Prototyping Game Systems for Swords and Shovels.


This is an intermediate course for developers who have some experience with Unity and are ready to start building systems. If you are new to Unity, I recommend starting with my Game Prototyping in Unity blog series.

The Prototyping Game Systems course covers:

  • Understanding the Design-Prototype Relationship
  • Building a Prototype Play Space
  • Prototyping Non-Combat Systems
  • Adding Juicy Interactions
  • Playtesting and Iterating Based on Feedback
Let's get started with the Design-Prototype Relationship. 


Prototype is a broad term that is used in many industries to describe an early sample of a product used to test a concept or process. Within the game industry, we typically use prototype to describe a playable game concept that was created quickly to test new ideas. It’s important to note that nowhere in this definition does it say this needs to be created in a game engine, or even on a computer. The purpose of the prototype is to test an idea, and often the first test should be on paper. 


You might hear game developers refer to a paper prototype, which is a playable game concept created on paper or using physical objects like cards, dice, or game pieces. Basically anything you can use to test your idea without doing any coding or creating any digital content. Paper prototyping is very useful at the start of a project when you’re not really sure what you’re making and you don’t have any scripts or art assets to work with. This course specifically focuses on digital prototypes because it is working within the framework of an in-progress game, so there are already some art assets and scripts to work with. 


The three most common/useful times to prototype are during a Game Jam; when starting a new project; or when experimenting with new systems or mechanics for an existing project. This course covers the third option, creating and testing new systems within an existing project. Many aspiring game developers get their start working on games from scratch, either with student projects or side projects they take up on their own. Being able to integrate your work into an existing project is a major turning point for new developers, and one of the most desirable skills in a new entry-level hire. 

So now we know when to prototype, but what are we prototyping? Generally we prototype Game Mechanics, or Game Systems which are collections of mechanics that work together. What is a Game Mechanic? Game mechanics are the rules that determine how the game functions, how the user interacts with the game, and how the game responds to the user. 

A very simple example of a mechanic might be to click on an item to pick it up. Generally when you start to explain a mechanic, it will lead to questions which will help you work out the related mechanics. In this example my first question would be "What happens when I pick up an item? Does it go into my inventory? Do I hold it in my hands? Can I use it? Do I craft things with it?" And as you start answering those questions you’ll start to define your other mechanics. 


Now that we understand mechanics, let's talk about another common phrase in prototyping: Rapid Prototyping


Rapid Prototyping is the process of quickly creating, testing, and iterating on prototypes. The first key here is speed, you want to find a testable solution as quickly as possible. You also want to have a clear direction so that you know what you are working towards and keep your goals in focus. And it is important to critically review everything you make during this process, you want to test everything, don’t be afraid of failure. 

The first part of the prototyping process involves assessing the design needs. Generally when you join an existing project there is a design document in place. 


The design document is full of useful information about the game, but it can be daunting and difficult to tell what is important and specific to the systems you are prototyping. 


Since this course focuses on prototyping the non-combat systems of the game, the most useful information to us is anything related to digging/looting and upgrading the tools and weapons. 

While assessing the design needs, it is important to keep the project resources in mind. 


Pretty much every game being developed has a limited amount of time, money, and people. Understanding the available resources is an important part of prototyping. 

In Part 2 we will dive into the game engine to build a Prototype Play Space. 

If you enjoyed this blog and want to learn more about these topics and follow along with hands-on examples, please check out my full course on Pluralsight - Prototyping Game Systems for Swords and Shovels


Thanks for reading! 


Sunday, March 25, 2018

Game Dev Tutorials

Many game devs get their start from following tutorials, because even though there has been a surge of game-related classes and programs in colleges and schools, a lot of the content taught is overarching principles of design and workflows. Hands-on how-to material is still largely dominated by online tutorials.

Tutorials are a great way to learn how to build specific mechanics within specific engines or frameworks, and can be beneficial even for seasoned developers. Often tutorials cover not only scripting, but also art asset creation, world building, animation, and effects...you can make a complete game from scratch by following a tutorial, or you can pick up bits and pieces to fill in knowledge games.

For the past year I've been working on tutorializing content that I teach in classes, workshops, and camps. This is beneficial to anyone participating in my classes because it means they can work at their own pace and continue to learn even when I am not there, and it also allows people from all around the world to experience this content because it is available online (and much of it is free).

If you are an aspiring game developer, or if you teach game dev classes or workshops, I hope you will consider checking out my suite of tutorials. Here is a rundown of what I have to offer (all tutorials use the Unity game engine):


This tutorial covers everything you need to know about using 2D sprites in Unity, either for 2D game objects  animated for 2D gameplay, or for UI elements in a 2D or 3D game. Topics covered include sprite sheets, color, sliders, and rotation/scale/position animations.


Unity has a built-in physics engine that allows you to quickly and easily animate objects using physical properties such as force, torque, friction, mass, and bounciness. In this tutorial you will learn how to use these different properties to create a wide range of movement and behavior for physics-based objects in both 3D and 2D.


In addition to rigidbody physics, Unity also supports cloth physics. This tutorial covers the basics for setting up an object to behave like cloth, including constraints, stiffness, stretchiness, and animated force for wind and gravity.


This tutorial breaks down the most common features of Unity's Particle System component, including sprite sheets, velocity over lifetime, color over lifetime, trails, emissions, and bursts.


One of the biggest distinguishing factors from a student game and a professionally developed game is the "juiciness" of the interactions. The hallmark of game design is making the game "feel good" and so much of that good feeling comes from making things feel reactive to the player's actions. This tutorial covers specifically using particles and sound effects to make the interactions juicy.


This tutorial is available on Pluralsight and covers the full pipeline for creating your first game prototype. It covers whiteboxing, importing assets, building a level, adding animations, particles, lighting, and sounds, and making it a complete experience with a UI start screen and win/lose screens.


https://www.pluralsight.com/courses/unity-vr-fundamentals

This tutorial is specifically intended for aspiring VR developers, and gives the basics of getting started with room-scale VR on the Vive, and mobile VR.

Please subscribe to our youtube channel for more tutorials, gameplay videos, and other fun things! Thanks for reading!

Tuesday, January 30, 2018

Year in Review 2017

January seems as good a time as any to reflect on the past 12 months of progress and growth, both personally and professionally. 2017 was a tough year for many with uncertainty surrounding political and regulatory changes. For me and my studio, the sociopolitical climate has had minimal impact, and overall 2017 was quite a success.

Astire Games made a reasonable profit from contracts and consulting work, and most of that profit was converted into hardware at the end of the year. We had several small contracts that went well and ended on a positive note, and one large project that continues into 2018. The contracts and consulting work find our ongoing development of Cosmos Arena, which has been a slow and arduous project but I am optimistic it will perk up in 2018.

Cosmos Arena itself saw some exciting updates in 2017 as we pushed hard to make it a presentable demo for the Intel Showcase at the Austin Game Conference. Some new gameplay elements have emerged, and we've made strives towards better player feedback and overall UX improvements.


I also finally was able to afford to bring on a concept artist to help us work towards our own art direction (up until now we've been relying on the Asset Store, but with the new art direction we can begin internal development of our art assets to better match the style and feel of the game).


On a personal note, I was thrilled to accept an Adjunct Faculty position at the University of Texas for Spring 2018 teaching a course on AR and VR for games. I continue to teach at the Art Institute of Austin, but UT brings new and exciting challenges to the academic side of my career.

Here's hoping 2018 is filled with progress for everyone! Thanks for reading!

Sunday, January 21, 2018

VR Fundamentals

There is a common misconception that Virtual Reality began with the Oculus Kickstarter in 2012. Oculus launched the new wave of VR hype, but this was not the first occurrence. In the 1990's there was a boom of VR being integrated into arcades.

Nintendo even released the Virtual Boy as a VR device for home use.


Even before the 190's, VR existed as a concept and has a number of early attempts including the Sensorama in 1962.


In 1830 we had the invention of the first Stereoscope, which allowed the user to view a stereoscopic 3D image.


Virtual Reality has a long and rich history. Today, there are a number of VR devices on the market. At the top we have the Oculus Rift (now owned by Facebook) and the HTC Vive. Both come with a headset that tethers to your PC, hand-tracked controllers, and external tracking devices that allow for positional head-tracking.


The positional head-tracking allows for what we call 6 Degrees of Freedom, meaning x/y/z rotation and x/y/z position. It also allows for Room-Scale VR which is where the user can walk freely around a VR room, about 2 meters in each direction.

Beyond Oculus and HTC, there is also a growing market for mobile VR including the Samsung Gear VR, Merge VR, Google Cardboard, and Google Daydream.


Mobile VR generally involved inserting your smartphone into a headset. It offers 3 Degrees of Freedom (meaning rotation only) but it allows you to escape the tether to a powerful PC. You can put on a mobile headset anywhere - on the bus, at an event, while waiting in line, even in bed...The only thing needed to power mobile VR the smartphone you already carry with you.

With all of these headsets on the market, there is a growing need for developers to create new and exciting content. This is a phenomenal time to get into VR development, because not only are there a ton of hardware options available to the public but there are also a ton of resources being made available to potential developers. The Unity game engine offers built-in VR support that will automatically work with a number of the headsets listed above. The hardware developers also make interfacing with their hardware very straightforward through SDKs that anyone can download.


There has never been a better time to become a VR developer. I've created a tutorial to help you get started on your way: https://www.pluralsight.com/courses/unity-vr-fundamentals


Thanks for reading! If you enjoyed this, please Follow and Subscribe!